Tag Archive for: packing tips

Whether you’re packing for a week, a month or a year, deciding what to take can be challenging. If you’re like most people, you always overpack, thinking you want to make sure you have absolutely everything you could need.

Even so, you land at your destination, only to discover you’ve forgotten something important.

Believe it or not, there is little difference in how much and what you pack for a short trip versus a long one. The trick is to create a list of the essentials and stick to it when you pack, eliminating what you don’t need for your current destination but taking care not to add much, if anything, not on your list. This complete packing list for female travelers saves you a lot of hassle trying to figure out what to take along on your next trip.

Choosing the Right Luggage

The Complete Packing List for Female Travelers

Assemble the right packing list so you can really enjoy your trip

Your first consideration is what to pack all of your gear in. There are two primary options: a suitcase or a backpack. For short trips to a single destination, a suitcase works great.

Make sure you get one that has wheels and an adjustable handle. A four-wheeled suitcase is easier to manage and better for your body. It’s designed so that you can move it along next to you rather than dragging it behind you.

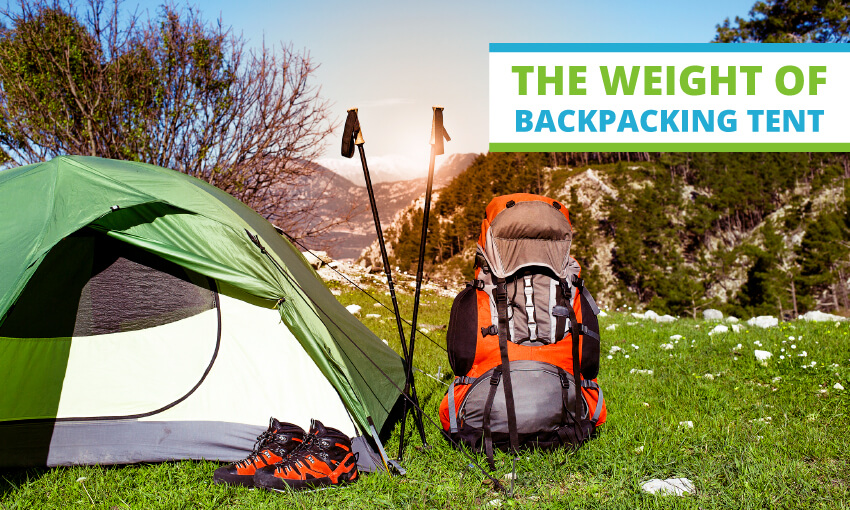
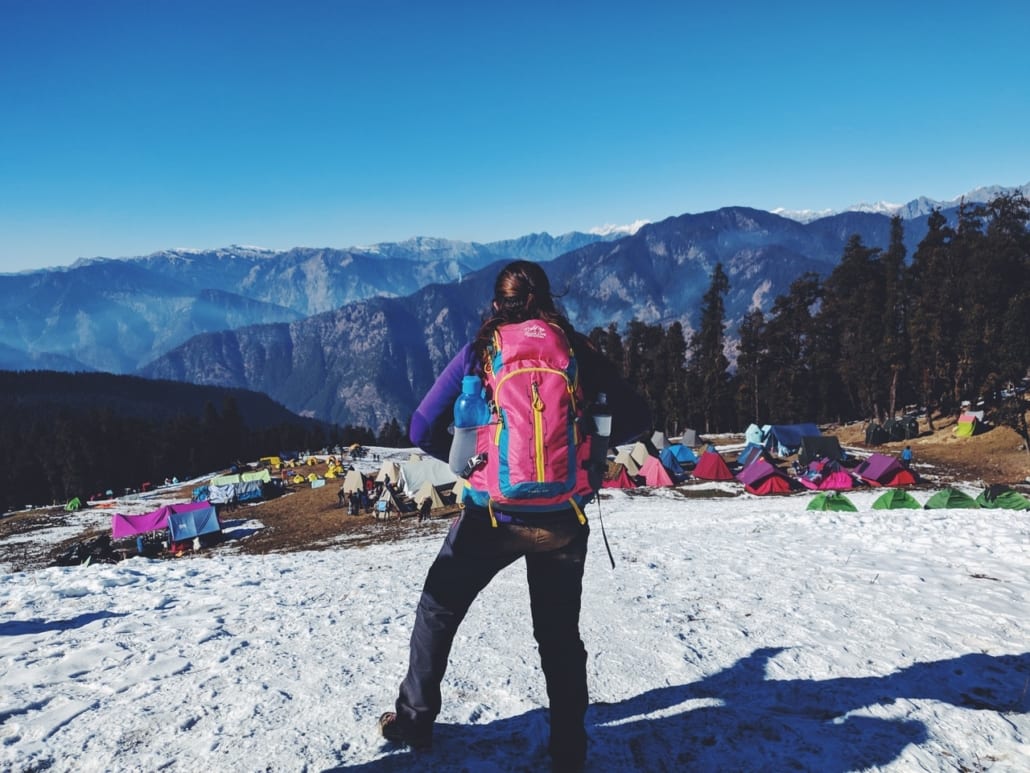
For longer journeys, especially if you expect to move from place to place or take public transport through towns, a backpack is the better way to go. It is much easier to get around when you can carry your stuff on your back.

If you get one that fits right and pack well, the weight is distributed across your shoulders, back and hips evenly, which is better for your body. Look for a backpack designed for women and ask a salesperson to fit it for you. If you’re looking for a carry-on sized backpacking the Osprey Fairview 40L is a favorite. If you’re taking a longer trip, go with the Osprey Ariel 65 Liter backpack.

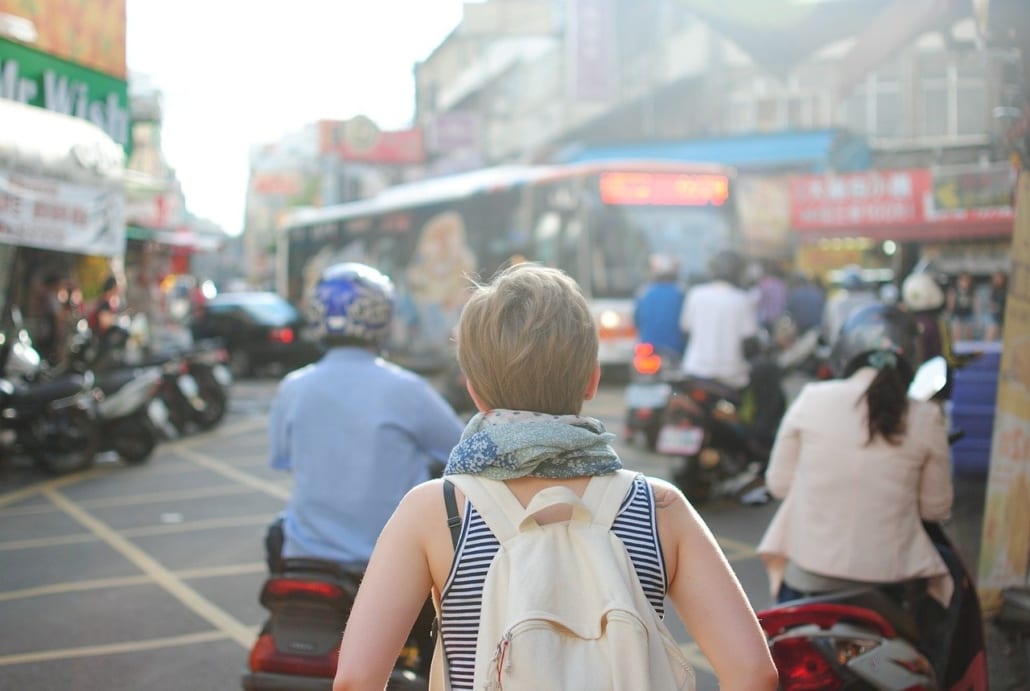
Make sure you have a daypack as well. This is handy for carrying what you need with you on the plane, but it is also invaluable when you’re out exploring. It’s better than carrying a purse, and you can safely store everything from a jacket to a water bottle.

Clothing Packing List for Female Travelers

Deciding on what clothing to take can be tricky, depending on where you’re going. It’s easy to start stuffing everything you own in your bag to make sure you’re prepared for every occasion. Far better, however, to take a versatile wardrobe, with plenty of mix-and-match options.

If you pack extra of anything, make it your underwear. Take enough for a week and a day. If your trip is more than a week, then having eight pairs will save you from handwashing or laundering your underwear as often. They’re small enough that you can splurge on taking more. The remaining clothing you pack will depend on the climate you’re visiting.

Warm Weather Clothing

The Complete Packing List for Female Travelers

Packing light is easy when you’re packing for warm weather

If you’re heading somewhere warm, you can pack really light. Avoid all cotton clothing, as it soaks up sweat and takes forever to dry. If you stick with mostly solids, you’ll find it easier to mix and match. Here’s an idea of what you should take for hot environments:

  • Five quick-dry tank tops or T-shirts
  • Three pairs of quick-dry shorts
  • Two dresses or skirts
  • One or two leggings or lightweight, long pants
  • One or two things you can sleep in
  • A swimsuit, if you plan to be near water
  • Two sports bras and two bras
  • A pair of hiking shoes
  • Sandals
  • Two to four pairs of socks
  • A hat with a brim to shield your face from the sun
  • A sarong or light jacket for unexpectedly cool evenings

With this list, you’ll have plenty of options for outfits for just about any activity.

Temperate Weather Clothing

When you’re headed to a place that has more variable weather, you need to adapt your clothing to suit the environment. Layering is great in these areas and saves you extra packing. You can simply add and shed layers as you need them.

Keep the number of tank tops or T-shirts the same and add three long-sleeve shirts you can wear over them. Reduce your shorts to two and add in three pairs of pants. Leggings go great under dresses, so feel free to include one or two of both.

You may also want to include a pair of boots or closed-toed shoes. Make sure you take a water-resistant jacket.

Cold Weather Clothing

If you’re heading for colder climates, you’ll want to ditch the T-shirts and shorts, replacing them with long-sleeved shirts. Take along a couple of thermal shirts or sweaters, a sweater dress, three pairs of lined leggings and a pair of pants or two.

Make sure you have a week’s worth of warm socks and comfortable boots for walking and hiking. You’ll also need a warm coat — down works great because it compresses — a warm hat, scarf and gloves. Don’t forget to include prescription safety glasses if you’ll be engaging in outdoor activities where you need eye protection.

What Toiletries To Pack

Packing toiletries can take a lot of space up in your pack and add a surprising amount of weight. Unless you want to purchase everything at your destination (not advisable), you have to figure out what to take. Opt for trial sizes on shorter trips. A basic toiletry travel list includes:

  • A toiletry bag that you can hang
  • A razor with extra blades
  • Shampoo and conditioner
  • Facial cleanser and moisturizer
  • Body wash or bar soap
  • Toothbrush, toothpaste and dental floss
  • Deodorant
  • Sunscreen
  • Tweezers and nail clippers
  • Tampons
  • Travel first aid kit

If you wear makeup, take the bare minimum you can live with. If you run out of anything, it generally isn’t difficult to find what you need wherever you travel.

What Extras To Bring

The Complete Packing List for Female Travelers

Don’t forget a few crucial extras to add to your packing list

The biggest considerations for extras are personal safety items and downtime activities. Consider taking a personal safety alarm, a lock you can use on lockers and a wire-mesh bag protector.

You may want to bring along a paperback book, your journal, a tablet, and headphones for downtime. Don’t forget your phone charger! If you’re traveling abroad, you’ll need to make sure you have an adaptor for your electronics.

Notice how your dog’s tail wags when you say the word walk? Our canine furry friends absolutely adore getting out in nature for a big walk, and hiking with your dog is a great way to keep both you and your furry friend in shape and healthy. Whether you are new to canine care or have been doing it a long time, hopefully, this article will help you out! Here are nine tips and tricks for backpacking with a dog when you and your furry friend go hiking in the great outdoors.

1. Pre-Hike Training (for both of you!)

Before you even attempt to go backpacking with your dog, it is important to make sure you are both ready. Before going out together, take your pup to dog parks to ensure they are socialized and well-behaved around other dogs, people, animals, and unknown circumstances. Give your dog little bits of experience around hiking by going on small walks and building up slowly before attempting anything too big.

How to go backpacking with your dog

Take necessary steps to bring your dog on your backpacking adventures

2. Do the Research to Find a Dog-Friendly Trail

As Reece Lance, a travel blogger at Academized and Write my essay, commented, “The first thing you need to ensure before heading out is that you are planning on going to a dog-friendly trailhead. It is extremely easy to make the mistake of heading all the way there and then finding that they do not allow dogs.” Before you go to the trailhead, it is important to do some research. Ensure that the trail is not going to be too hard on your dog’s paws or too much for both of your fitness levels.

3. Pack Enough Food, Water, and Treats for your Pup

9 Tips & Tricks for Hiking and Backpacking with your Dog

Just as it is important to bring yourself enough energy bars, water bottles, and packed sandwiches when you are walking; it is crucial to do the same when you go backpacking with your dog! The best way to think is to bring a little bit more than you need for the both of you. Bring their usual food, extra water, and treats to keep your pup motivated. You do not want to be caught without if the hike goes a little longer than expected. This dog water bottle is easy for them to drink out of, and its handy dual-valve system lets you re-store any water your dog doesn’t drink so that their fresh water doesn’t go to waste.

4. Leave No Trace! Bring Poop Bags

On trails, it is requested that people leave no trace behind and clean up after themselves. This applies to dogs as much as it does to humans. You are responsible for the trace that your dog leaves behind, and this is especially important to consider when your dog poops! Pick up after your pup or bury the waste deep in the ground. Be kind to the environment and bring some extra-thick biodegradable poop bags to dispose of your dog’s waste once you’re off the trail.

5. Bring a First Aid Kit

You should always bring a first aid kit on long hikes for yourself, but also ensure you have canine-specific first-aid items when you go backpacking with your dog. In all hope, you will never need it; but it is always better to be prepared than caught unawares. The most important safety items for a pet first aid kit are tick-tweezers and an LED-lighted color.  This dog-specific first aid kit also includes wraps, a water bowl, special tick tweezers, and a LED light-up color, so that you can easily spot your dog once the sun goes down.

6. Pack Dog Clothing & Wrap-Ups

Ensure your pup will be prepared for extreme weather on the trail

Ensure your pup will be prepared for extreme weather on the trail

Following on from my previous point, it is always better to be prepared than caught unawares. Check the weather before you go backpacking with your dog, but also be prepared for circumstances where the weather may change without warning. Pack extra dog clothing and wrap-ups for both of you. A lightweight rain jacket will fold up nicely in your pack and will come in handy in case you encounter stormy weather on the trail.

7. Bring a Dog Toy on the Hike

Bringing a favorite toy of your pups on the hike will make them feel instantly comfortable and at ease in a new environment. This can also be used as a way of getting their attention if they start wandering off too far to explore. This football-shaped squeak toy is easy to throw, plus the irregular shape means it will bounce in different ways, keeping your dog’s attention.

8. Take Regular Breaks & Keep an Eye on your Dog

Bring your dog (big or small!) on your hiking adventures

Bring your dog (big or small!) on your hiking adventures

Anna George, a lifestyle writer at Boomessays and Resumention, noted, “On a long hike, make sure to keep an eye on your dog for signs of discomfort, pain, or fatigue.” If you start to see signs that you are worried about, this is where your first aid kit comes in handy! However, keeping your dog hydrated and fed will avoid this happening in most cases.

9. Do a Final Check on your Pup

Congrats! You and your dog have finished your hiking adventure or backpacking trip. It is important to do a final check on your pup for any bug bites, ticks, or little injuries before hopping back in the car and heading home.

Checklist for Backpacking with Your Dog

Backpacking with your dog

Hiking with Dogs

Are you planning your first backpacking travel adventure? This can be both exciting and stressful, especially if you’re not sure what you pack. Whether you’re backpacking Europe, exploring Southeast Asia, or travelling throughout South America, there are a few backpacking essentials you’ll want to take with you from home.

To help you get started, take a look at our ultimate backpacking packing list, which will ensure you have everything you need for your trip. 

1. Backpack

Choosing a backpack should be the first thing you consider, as the right bag can make or break your trip. If you choose one that’s too small, you won’t be able to fit all your belongings in it, while a backpack that’s too big can slow you down and make your journey unpleasant.

When deciding on a backpacking backpack, consider the type of trip you’re taking as well as the type of gear you need to bring. A 30-40 litre bag is carry-on size and will fit a few days of clothes. For a longer world backpacking trip, you should be looking at bags that are 50-65 litres.

There are plenty of backpack brands to choose from, so it’s important to take your time and shop around for your particular body size. You should try on plenty of bags in-store and ask for size guidance to make sure you purchase the right one. 

That being said, one of the most popular backpacks for world travelers is an Osprey 65L backpack. They are durable, easy to load, and most importantly, comfortable. Women’s and Men’s backpacks are shaped somewhat differently, so purchase accordingly:

2. Day bag

A small collapsible daypack is an essential item on your backpacking packing list

Bring a small collapsible pack for your day trip excursions

For certain trips, you may want to leave your bulky backpack at your accommodation and instead opt for a lightweight day bag. It would be best if you buy a foldable day bag to fit inside your larger backpack.

Again this shouldn’t be too small or too big, as you need to make sure it’ll fit essentials such as money, your passport or even your visa. Try to choose a day bag with various compartments, as this allows you to separate your lunch from your toiletries. 

3. Waist bag or money belt

When backpacking around the world, you need to be extra careful when carrying around money, as pickpockets tend to target tourists. So, the best way to keep your currency safe is by storing it in a waist bag to keep it close to your person.

You can wear it proudly in front of you, wear it concealed under your clothes, or wear it as a cross-body bag.

There are a wide range of waist bags to choose from in a wide range of colours, so you can select a design to suit your preferences. The majority of money belts and waist bags can also be adjusted, so you don’t have to worry about it slipping down while you’re walking. 

4. Padlocks

To keep your belongings safe, you should definitely invest in padlocks. This small item on your backpacking packing list can be a lifesaver during your travels! You can quickly and easily secure your bag or hostel locker with a padlock for just a small cost.

Your luggage lock will also work on your backpacks, which will ensure all the contents are safe, especially your passport, as losing this would be a nightmare.

5. Universal travel adapter


One thing you will need to have on your backpacking packing list is a universal travel adapter, which will work for your phone charger or any other electronic devices you bring along. 

A universal travel adapter will solve all your plug issues, especially considering there are fifteen different power plug shapes around the world! So, instead of lugging different types of plugs around, you will only need a multi-purpose adapter. Just make sure you don’t leave it in your hostel!

6. Laptop

If you’re travelling alone, you’ll want to keep in contact with your friends and family to keep them in the loop about where you are off to next. Or maybe you want to document your journey on a personal travel blog.

The best way to do this is by taking a travel-size laptop. A Macbook air is the most popular laptop for digital nomads because it’s durable, lightweight, and compact.

If you are a freelancer or can work on the road, you can also use your laptop to work as you travel. You could even start up a public blog to document your travels and share your experiences with a wider audience.

7. Camera

Don't forget to bring a camera to document your adventures

A camera will help document your once-in-a-lifetime backpacking adventures

Your phone camera is sufficient for everyday life, but backpacking around the world is a once-in-a-lifetime experience! You’ll want to document all the amazing things you encounter along the way because your travel photos will be invaluable once you return from your epic journey.

This is exactly why you need a good-quality camera, which not only takes great pictures but also fits perfectly and safely in your backpack.

Most cameras these days come equipped with Bluetooth or Wi-Fi capabilities, which means you can easily send them to your laptop or phone if you want to post them online along the way.

There are plenty of action cameras to choose from, so you do research and ask around to see if anyone can recommend a good camera that will capture all your memories and enhance your blog. 

A GoPro is the ultimate item for your backpacking packing list

A GoPro is the ultimate backpacker gadget for adventure-seekers

If you have the technical know-how, you may want to bring a high-tech DSLR camera that allows you to capture stunning photos. For some of us, a more compact point-and-shoot camera will do the trick and has the benefit of being small enough to fit in your day pack.

However, if you want the ultimate backpacker gadget, you should bring along a GoPro which can accompany you everywhere from underwater adventures, to skydiving during your world travels.

8. Travel towel

Another essential item for your backpacking packing list is a quick-drying travel towel, as you will be moving from different hostels as you backpack from city to city, where you will need a hygienic towel. A travel towel is compact and can fit easily inside your backpack. 

You may also need a quick-drying towel when you’re enjoying some water excursions during your world backpacking trip, such as exploring waterfalls or hidden natural pools. 


Now that you have an idea of what to pack for your next adventure, you can stop stressing and start researching and planning some activities for your first backpacking travel adventure. Have fun out there!

It’s been a tumultuous year for everyone. After being held prisoner in our own homes for most of 2020, there seems to be an incipient air of positivity on the horizon. The world is slowly but surely starting to open again. And for many adventurers, wanderlusters, and dreamers, that means one thing: travel.

The travel bug has been dormant against our will for a while, but the time has come to start thinking about our next escapades. If you let your mind wander, you can almost smell the potpourri of exotic dishes at an Asian night market, feel the warm sand between your toes on a Croatian beach, or walk amid exotic flora and fauna on a trek through the Peruvian jungle.

As the moment approaches when we can once again dust off our passports, it’s time to start thinking about how to make the most of the experience and the essential items we need to have in our traveler’s bag.

With so many must-have travel gadgets on the market these days, we need to be judicious with how we pack. But these are five of the ultimate travel gadgets that you don’t want to leave home without.

Universal all in one power adaptor

Any seasoned traveler worth their salt knows that a universal power adaptor is a must-have travel gadget for everyone. It doesn’t matter how many phones, tablets, laptops, or extension cord with a switch you have if you don’t have a way to charge them.

Different countries have different shapes and sizes of power outlets, so you’ll want to make sure you can plug in your favorite travel gadgets even when you’re abroad. Having an all-in-one adaptor in your bag is a game-changer and takes the worry out of having dead electronics, no matter which country in the world you are in.

Portable Wi-Fi

Bring a portable wifi device to stay connected while you travel

Bring a portable wifi device to stay connected while you travel

Those who have traveled to distant countries will know the struggle of having to rely on your budget hostel’s terrible Wi-Fi. Take the worry out of the game by packing a portable Wi-Fi/hot spot device to make sure you stay connected no matter where you are.

The plans on these devices can vary, but there are some affordable options available to you when you know that connecting to the internet will be a struggle. This is one of the best travel gadgets for digital nomads or for anyone that spends time off the beaten path.

Gimbal for your smartphone

A travel gimbal is one of the best travel gadgets to help you capture stable videos of your adventures

A gimbal can help you capture high-quality videos of your adventures

It doesn’t matter if you live for Instagram, are a travel blogger, or a vlogger; a stabilizing gimbal for your smartphone is one of the best travel gadgets to make sure you always get ‘the shot.’ Gimbals are designed to remove the shake while moving or shooting shifting footage.

Nothing is worse than a shaky, choppy video that you try to take while cruising in a Tuk Tuk in Thailand or zipping down the Hai Van pass in Vietnam. Gimbals often include great zoom features, slow motion, and time-lapse. Gimbals are small, portable, and a must-have travel gadget for anyone that uses their phone as the main source for video.

Waterproof case for phone and wallet

This might be the most understated but most important travel gadget out there. Especially for those heading to a beach location. How many times have you been to a beach or a lake but were reluctant to take a dip for fear that your valuables would get stolen if you left them on the shore?

It doesn’t matter how close of an eye you keep on your things from the water; a thief can be out of sight with your things by the time you get to the beach. Having a small waterproof case that you wear around your neck can take all your worries away. These are lifesavers and are designed to hold your phone, wallet, keys, etc.

Travel drone

A drone travel gadget can help you capture incredible shots

A drone can help you capture incredible shots of your travels

This travel gadget might fall into a little more of the expensive category; but, the coolness factor of a travel drone is hard to beat. With everyone taking the same photos for ‘the Gram’ these days, it’s amazing to be able to get shots or footage that not many others can.

The cinematic shots that a drone can provide will no doubt take your vlog or blog to the next level and wow your viewers. Drones have gone down in price as technology improves and can be foldable and compact to make them easier to travel with than they used to be.

Whether you travel professionally or just for leisure, a drone will take your experience to the next level.

Conclusion

Hopefully, reading this has fanned the flames of your travel fire. Crossing borders will soon be a reality again, and equipping yourself with some of these must have travel gadgets is going to make your next trip a memorable one.

With so many options out there for travel accessories, picking the right ones can be dizzying. Think safety and practicality first by getting a waterproof phone case or universal power adaptor, and then move on to some of the fun stuff like drones and gimbals. Depending on how big your suitcase is, the possibilities are endless.

If you’re just starting out with a backpacking hobby, one of the first things you’ll need to purchase is a lightweight tent. Having the right tent can make or break your trip (and break your back in the process!) so this guide will help give you an understanding of all the factors involved when picking a backpacking tent.

The most important factors to consider when wondering how to choose a tent when backpacking on a budget include:

1. The weight of the tent

Consider weight when choosing a budget backpacking tent

Keeping the weight of your pack low is important if you are walking long distances each day or taking the tent camping.  Even though you might think a few ounces might not make a difference, it can add up over the course of a few days or weeks of backpacking. This is why so many ultralight backpackers are picky over every last ounce.

For most backpackers, the tent that you choose will be one of the heaviest items they are carrying, with the others being the backpack itself and a sleeping bag.  If you can shave off a few ounces on the weight of your tent, you will find it easier to walk long distances and you will enjoy your time backpacking much more.

2. The type of materials used

The materials used to make a backpacking tent are important as they will determine how durable, lightweight and waterproof the tent is.  When you are looking at backpacking tents, you will often see the material descriptions like:  20D x 200T ripstop nylon 2000mm Durashield™ polyurethane & silicone.  This is clearly confusing for a person who is wondering how to choose a tent for backpacking for the first time!  Let’s break this down into each component:

  • “20D” is this tent’s Denier rating
    The denier rating is used to describe the thickness and durability of material.  It represents the thickness of each fibre within the fabric.  1 denier is about the thickness of a silk strand, so a 20D fabric has strands that are as thick as 20 strands of silk woven together.  Fabrics that have a higher denier rating will be thicker and more water resistance as water droplets will find it harder to push through.
  • 200T” is the thread count
    The thread count is the number of horizontal and vertical threads per square inch.  The higher the thread count, the softer and more pliable the material is.  The materials used to make tents will have a denier and thread count that provides the most durability, pliability, and water resistance.
  • “2000mm Durashield™ polyurethane & silicone” is the fabric’s coating
    The last component refers to the water-resistant coating that is applied to the tent’s materials.  In this case, it is a 2000mm thick coating that consists of polyurethane and silicone.  In most cases, a thicker coating will result in a more waterproof tent.  Durashield™ is a brand name for the coating that is applied to the tent.

When looking at each tent, remember to compare the denier, thread count, and coating thickness to determine how water-resistant and durable it is.

3. Interior space

Interior Space is a consideration when buying a backpacking tent

Most lightweight backpacking tents are intentionally designed to be on the smaller side.  However, they always should provide enough room for you to comfortably stretch out and to store your backpack inside the tent.

It is common for 1-person backpacking tents to have an unusual shape that provides you with sleeping space and vestibules for placing your backpack.  This is done to minimize the size of the tent when it is folded up. 

One important consideration to keep in mind when comparing the size of tents is the maximum height.  Make sure you choose a backpacking tent that you can sit in cross-legged without your head hitting the ceiling.

4. Season rating’s for backpacking tents

Modern tents often provide a season rating, which refers to how many seasons the tent can be used outdoors.  The most common season rating for a budget backpacking tent is 3, which means the tent can be used in Spring, Summer, and Autumn.

Check the season rating when choosing a backpacking tent

Ultralight or lightweight backpacking tents usually have a 3 season rating because they are designed to be low weight, which often means they are made from thinner materials.  This reduces the amount of protection that you would have in colder climates.  You can find 4 season backpacking tents, but they will usually be on the heavier side.

5. Protection from the elements

Tents will never provide as much protection from the elements as staying indoors, but they should at the very least keep you dry and provide some shade.  Even a typical backpacking tent will be water-resistant, but the level of water resistance they provide can vary.

The best modern backpacking tents will have a polyurethane hydrophobic coating on the tent’s exterior.  However, the thickness of the coating can vary and will usually be between 2000mm and 5000mm. 

If you are concerned about water entering the tent, choose a backpacking tent with a thicker coating.  Also, look for a tent with a “bathtub” floor.  This kind of floor goes above the ground and covers the bottom of the tent, providing protection from water that might penetrate the sides of the tent.

Another important consideration is UV protection.  Some cheap tents use material so thin that UV light can penetrate, causing you to get sunburned even when you are sitting in your tent all day!  High-quality tents usually use thicker materials with a higher thread count, which reduces the amount of light entering the tent.

Finally, think about the creepy crawlies.  Does the tent have fly screens on any windows?  Most high-quality backpacking tents will have two layers, an inner mesh layer, surrounded by a waterproof layer to keep you dry.  If you are visiting a region known for its mosquitos, make sure you choose a backpacking tent that has excellent bug-proofing.

6. Size of the tent when packed

When you are backpacking you will find yourself taking your backpack into many different environments.  You may find yourself hiking for long periods, using public transport, or trying to fit your backpack into a locker for temporary storage.

It is much easier to handle your backpack if it is smaller in size.  This means that having a tent that collapses into a small package when packed can be very advantageous.  Most of the best backpacking tents will indicate the packed size in their description, so keep this factor in mind when comparing tents.

7. Price of backpacking tent

Most people go backpacking for two reasons — they have the freedom to choose where they travel and it is a cheaper way to travel.  If you are backpacking because it is cheaper, then your budget will be a big factor when deciding how to choose a tent.

Fortunately, it is possible to get a budget backpacking tent that is still very high quality.  Saving money on your tent will give you room in the budget to buy a great pair of hiking boots or some high-quality clothes that will survive life on the road.

8. Tent pitching time

If you are often on the move while backpacking, you may find yourself setting up and packing your tent every day.  This can eventually become tiresome if your tent has a complicated pitching process.  Look for a lightweight backpacking tent that only has a small number of components and can be pitched in a matter of minutes.

9. The functionality of the tent

The best backpacking tents will usually have useful functionality like interior pockets, rain flies, and even LED lights.  Compare the additional functionality that each tent offers and have a think about what you would use on a tent.

10. Durability and strength of the tent

The durability of a tent really comes down to the quality of its materials and the construction techniques that are used.  In addition to the fabric used to make the tent, you should consider the types of zippers and fasteners used. 

The quality of the tent pegs and poles can also be an important factor, as low-quality parts will bend or break more easily.  In terms of construction, look for tents that feature double or triple stitching as they will have much stronger seams.

11. Interior capacity

One person backpacking tent

Should you get a one or two-person tent?  Even if you are the only person using the tent, you might enjoy having a little extra room available to move around or store your things. 

Most 2 person backpacking tents are only a pound heavier than a 1 person backpacking tent, so there isn’t much difference in terms of weight.  Additionally, you never know when you might meet someone who wants to share your tent!

12. Wall construction

When exploring how to choose the best budget backpacking tent, be sure to look for one that is double walled.  This kind of tent has an inner mesh shell surrounded by a rainfly.  Having these two layers separated creates a moisture barrier that will keep you dry in wet weather.

13. The number of doors

If you are going for a two-person tent, consider getting one with 2 doors and 2 vestibules.  This will make it easier to get into and out of the tent, and each person will have their own section for storing their backpack.

14. Footprints

The floor must be the most durable part of a backpacking tent as it is constantly stepped on and often sits on sharp objects.  That’s the reason why the best backpacking tents have thicker material on the floor.  The floor also needs to have stronger waterproofing as it is often exposed to water for long periods.

Some backpacking tents will come with a footprint.  It is an additional piece of plastic that covers the bottom of the tent to protect it.  If you think your tent will be used in locations with rough terrain, choose a backpacking tent with a footprint.


We hope this was helpful! The good news is that we’ve done the work to figure out the best backpacking tent, taking all of the above considerations into account. If you’re in the market for backpacking tents, be sure to check out our recommendations for the best backpacking tents.