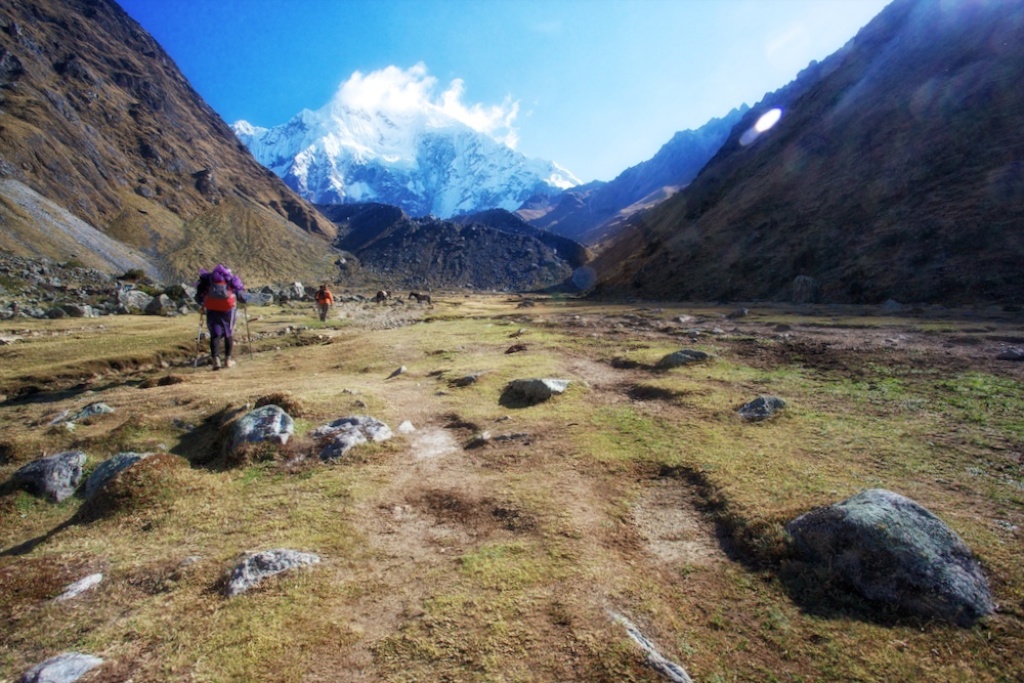
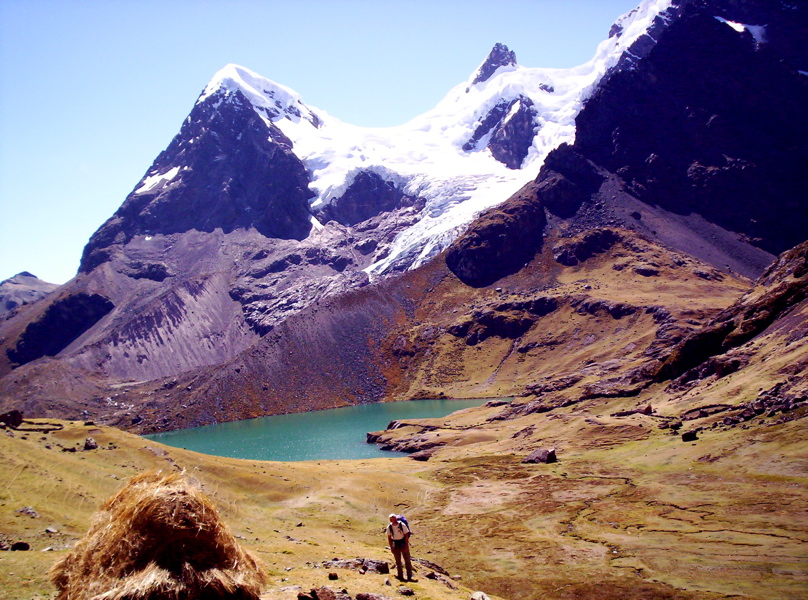
Hiking has officially cemented itself as the most popular outdoor activity in America. The 2023 Outdoor Trends Participation Report saw over 881,000 new hikers going into 2023 alone, and that growth isn’t expected to stop in 2024. In fact, this surge in popularity may have convinced you to hike again soon.

Your preparations may involve taking steps to prevent injury on your trip, with our post How to Prevent the Most Common Hiking Injuries noting that you’re most vulnerable to cuts, scrapes, dehydration, insect bites, and poisonous plants on the trail. You can also get blisters, sunburn, hypothermia, sprains, and broken bones. It can be common sense to expect and prepare for these injuries, which is why you may overlook precautions you can take to protect other parts of the body.

Notably, you may need to pay attention to your eyes. Even if you wear the right clothes and pack a first-aid kit, you can still get into accidents if you can’t see or don’t look at where you’re going. That makes preserving your eyesight on the trail all the more important. Here’s how you can keep your eyes safe on your next hike.

Be wary of high-altitude retinopathy (HAR)

Mountain trails are a popular choice for hiking. To prevent eye injuries from marring how you experience them, you may want to learn about the main risk on ascending hikes: HAR. The American Academy of Opthalmology notes that this condition occurs from the lack of oxygen at high altitudes, which can prevent your eyes from getting the nourishment they need and cause temporary vision loss or obstruction that can affect your safety as you climb. If you plan to embark on an involved, multi-day ascending hike, you can prevent HAR by climbing no more than 900 feet a day. For shorter trails, ascend slowly so your eyes can acclimate to the higher altitudes.

Hydrate your eyes

Hiking in certain conditions can cause dry-eye syndrome, which occurs when your tear film evaporates too quickly to keep your eyes moist. You’re especially at risk if you plan to hike desert or mountain trails, where the air can dry out your eyes. The condition can create friction between your eyes and eyelids, causing an irritation that can impact your vision as you hike. So, if your eyes start feeling gritty or begin to sting, make sure you have some eye drops on hand to hydrate them as soon as possible. WebMD recommends using drops with lubricating ingredients like glycerin, as well as electrolytes that can heal the surface of your eyes upon application.

Wear the right protective eyewear

Though getting some good old vitamin D from the sun on your hikes can be beneficial, overexposure to its UV rays can lead to vision loss-causing conditions like cataracts. In the short term, you may get photokeratitis (also known as eye sunburn or snow blindness) from excess glare reflecting off water or snow, causing temporary vision loss on a hike. Wearing protective eyewear like sunglasses is crucial for preventing any of these conditions, so be sure to look for a pair with a UV 400 rating and polarized lenses to cut out glare. If you’re a serious hiker, you may want to invest in dedicated sports glasses for more hiking-specific features. Take the sunglasses from Oakley: aside from providing 100% UV protection, they use PRIZM polarized lenses that cut out glare while also enhancing visual color and contrast. Outdoor lovers may also appreciate that they come with Unobtainium ear socks to stay secure on your face and wraparound lenses to provide additional protection against dirt and debris that may scratch your eyes.

Top everything off with a hat

It’s always great to have additional protection. The Skin Cancer Foundation notes that hats can supplement sunglasses by blocking as much as half of the glare and UV rays you’re exposed to. For the best effect, buy a hat that has a brim at least 3 inches wide and is made of tightly woven material so no sunlight will seep through. And, like sunglasses, serious hikers may want to invest in a hat with additional features. The wide-brimmed sun hats from Sunday Afternoons have some great options you can look at. Made of UV-protective fabrics and inner mesh strips, they’re lightweight and breathable to wear on both long and short trails. Adjustable straps mean they’ll easily stay on your head in windy conditions. And if you’re big on skin protection, their neck capes extend the effectiveness of their UPF 50+ rating to provide skin as well as eye protection. They even work well with sunglasses, with some models offering a dedicated sleeve you can put them in when not in use.

When preparing for your next hike, don’t forget to take precautions for your eyes. Educating yourself about the possible conditions you may get and packing some key items will ensure your eyesight can keep you safe on the trail.

The number of people enjoying backpacking has been on the rise. According to Statista, more than 50 million people in the US took part in different hiking activities in 2021. Unfortunately, some people are still not familiar with important tips that will guarantee a great experience when hiking. Here are eight important backpacking tips to consider:

Always Train Before You Depart

It does not matter if you have been on a backpacking trip before or if it is your first; training before you depart is an important prerequisite you should consider. Like sports people, the best way to succeed is to train. Try hiking and see how it goes using the same travel backpacks you will carry. Make sure there are weights inside the bag. It will assist you in knowing how to tie the straps.

When training for backpacking, focus on increasing strength in major muscles participating in heavy lifting. Remember to do some drills for the lower back and shoulders. Work on your balance to ensure a stable base, making walking through uneven terrain easier. Complement all these exercises by performing biking, trail running, or any other cardio exercise.

Get the Right Backpack

You must get a backpack that fits your style and activities to ensure a successful trip. When hiking, you can encounter unpredictable weather, so you should get a ruggedly constructed backpack. Longer hikes will mean you will have to carry more gear.

When shopping for a backpack, ensure you go for one with a modular design capable of taking in all types of gear. You must always hydrate yourself to ensure your health condition is not affected. Ensure the backpack has a water bottle storage feature. According to the National Academies of Medicine, Engineering, and Sciences, women should consume at least 2.7 liters of water and men 3.7 liters daily.

Consider Carrying Lightweight Backpacking Gear

Ultra-light backpacks will always cost you more. However, every ounce will always count when carrying all you need for your hiking. Despite its high cost, getting a lightweight backpack will enable you to put the things you need.

You will need a light tent in the bag to accommodate everyone you travel with. It can get cold at night, especially when hiking in the mountains. Invest in a warm sleeping bag, as it will help make the difference between a miserable and successful trip. You should go for a three-season bag with a rating of between 4°C and 9°C.

Pack all the sleeping bag liners and hot water in a bottle. Go for lightweight fabrics that dry fast when rained on and wick moisture from the body. Depending on the activities you will be doing during your hike, consider having waterproof or windproof shoes and clothes.

Go for a Hike That Matches Your Abilities

When going for your first hike, go for one with a moderate elevation to start. It will provide you with hints on how you can handle tougher hikes. Try an overnight backpacking expedition before you embark on a week-long trip.

Most backpacking trails are circuits that can be tackled with different exit and entry points or directions. Your backpack will be heaviest when you first embark on hiking, so ensure the start point is the easiest. The first days will be the toughest since you are still in rhythm with the gear weight and hike.

Come Up With a Route Plan

After picking the backpacking area, you must plan for the route. Consider sketching different options just in case the first plan fails. Having more than one route plan and gauging reasonable miles will be very important at different backpacking levels.

Most beginner hikers must pay more attention to planning a route and mileage. You must always plan on your daily mileage. Most people prefer 5 to 7 miles a day. With this, you will get enough time to be acquainted with new gear and reduce the pressure of covering the ground.

Do Not Go Alone

Backpacking can be dangerous, especially if you are a beginner and alone. You can find yourself in trouble with someone to assist you. You should always be in a group, especially when going off-trail. If you are a first-timer, being close to other people will ensure you get help when you forget something important. They will be of help when stranded. Take a satellite phone with you and have a map to help orient yourself. Inform some of your people about your whereabouts.

When planning for your first-ever solo hike, consider going for a well-maintained trail. There are fewer chances of getting lost on such a rail. Settle for a terrain where you will not be taking lots of risks. The conditions and terrains should be within your abilities

Pack Meals

When packing meals for a hike, go for foods with lots of calories and can easily be rehydrated, especially when going to areas where you can refill water. Pack some protein and power bars, as they will give you many calories and energy to last throughout the day. Have nuts and fruits for lunch and pasta with soup or potatoes for dinner. Consider packing dried fruits for multi-tours since they are much easier to carry.

Tuna contains a huge percentage of protein. You can eat it with bread and cheese, which produce high carbohydrates in the body. It is great you pack it when going for your hike.   Ensure you carry all the empty cans back at the end of your hike to help preserve nature. Only convert to eating new foods you are familiar with during your expedition. Stick to the foods you are used to, and you enjoy eating. Ensure you pack a variety, as it will help keep you motivated after long hikes.

Endnote

To ensure a great experience on your hike, you must prepare well and have all the necessary items. Remember to go for a backpack of the right size. The above backpacking tips will help ensure you have a successful hike.

Are you new to the hiking and backpacking world? And not sure how and where to begin?

Backpacking in the wild is a blend of hiking and camping while experiencing the thrill and witnessing the majestic views of nature. The adventurous hike broadens your horizon, improves your confidence, makes you mentally and physically more robust, and teaches lifelong lessons. In addition, you explore new cultures, make new friends and disconnect from your daily monotonous life.

Despite these numerous benefits, backpacking in the wild can be challenging for beginners. There are numerous things you must consider and do while hiking. To begin with, buy the right gear, pick an appropriate trail, know the dos and don’ts on trial, choose suitable buddies, prepare for emergencies, and much more.

This article guides you on how to prepare well for a thrilling adventure.

Prepare All Your Gear

Having the appropriate gear is essential for every hike. Without them, you can’t think of leaving. There are two ways to get them. First, you can buy them. Second, rent it out. Since this is your first hike, renting out gear and clothes is recommended.

Renting gear will keep your investment low, and you will get familiar with everything that will help you make better buying decisions later.

Now you must be thinking about what gear to rent. The following are the essential gear you need for hiking in the wild.

  • Tent: Pick a lightweight, durable tent with enough space for at least two people. As you are renting it, make sure you check for all damages.
  • Backpack: Again, choose a lightweight backpack with enough carrying capacity. Since this is your first trek, you can pick a 35–40-liter backpack.
  • Sleeping Bags: Your sleeping bag should have good insulation to keep you warm during cold nights. Moreover, it should be compact and easy to carry in your backpack.
  • Sleeping Mat or Pad: To have a good night’s sleep, you need a sleeping pad that is well-cushioned and insulated.
  • Cooking Stove and Fire Starters: Prefer a stove specifically made for camping. Such stoves are compact, lightweight, and easy to carry. Besides the stove, you also must carry fire starters like a matchstick and lighter fluid.  Remember, if you forget to carry a lighter fluid, you can use other items to light a fire. Wondering how to start a fire without a lighter fluid? Use various household items like Duct Tape, Chips, Chapstick, paper, Cotton Balls, etc.
  • Water Filter: As you are going in the wild, drinking clean water is challenging. Therefore, you need to carry a water filter. You can find numerous water filters in the market specifically made for hiking.
  • Utensils: Carry enough pots, pans, plates, cups, and other utensils to cook your planned meals.
  • Hiking Clothes: Besides all the gear mentioned above, hiking clothing is among the most vital thing you need. Simply choose clothes made of quick-drying fabrics like nylon and polyester. But to get your hiking clothes right, you need to group them in layers; Base Layer, Hiking Layer, Insulation, and Rainwear.  The base layer includes undergarments and thermal; hiking layers have T-shirts for insulation, pick sweaters and padded jackets for insulation, and windcheaters and a poncho in the outermost layer.

Choose An Easy Trail For Your Hiking

Hiking on a challenging trail can ruin your experience as you struggle most of the time instead of enjoying it. Not only this, but you might also get stuck in a life-threatening situation. Hence the key advice is to choose an easy and safe trail. On an easy trail, you enjoy your hike more while putting in less effort.

To ensure you have a great hiking experience, be sure to get the AllTrails app before you go. The app has reviews from other hikers to keep you up to date on the latest trail conditions. You can filter by trail difficulty, length, and suitability and download trail maps to help keep you on track even when you’re offline.

To choose an easy trail, you must follow these tips;

  • Choose Nearby Trail: Picking a trail close to your home can save driving time. In addition, you also have more time to enjoy the hike and camping in daylight.
  • Trail Should Have Shorter Distance And Less Elevation Gain: Plan a hike with a shorter distance and less elevation as it will put less strain on your body and avoid any medical emergency.
  • Ensure There Are Water Sources On The Trail: Water is an essential thing you require on the hike. You need water to rehydrate, cook food, and for personal use. Hence, you must choose the trail and campsite site with water sources.
  • Prefer A Clear Day: Weather plays a crucial role in making your hike successful. On a clear day, you can easily hike without any obstacles. So, always check the forecast before venturing on the hike and choose a sunny day.

Plan Your Meals

After finalizing the gear, the next step is planning the food. Start by calculating the number of meals you will eat on the hike, which includes breakfast, lunch, evening snacks, and dinner. Once done, prepare a detailed food menu. Make sure you pick meals that are easy to cook and require minimal ingredients. For example, rice, eggs, ready-to-eat food, noodles, soup, bread, biscuits, and vegetables. This will save you energy and time while cooking. After that, list all the required ingredients and get them from a nearby store.

Work On Your Fitness

beginners guide hiking backpacking

Good fitness is essential if you want to enjoy your hike to the fullest. So, start working out at least a week before your hike. Include exercises like running for a short distance, yoga, weightlifting, and meditation. Apart from it, you can also indulge in various sports like football, soccer, baseball, etc.

Conclusion

Although backpacking in the wild is an exciting and thrilling experience, you need to be prepared well, especially when you are a beginner. You must choose an easy trail, carry lightweight gear, wear appropriate clothes, and work on your fitness. Besides, you must also take the advice of someone experienced and do detailed research on everything involved.

Going on a backpacking trip and would love to brew coffee along the way?

We’ve got you covered! In this article, we’ve gathered 6 quick and easy ways to make coffee while backpacking. We will show you options like instant coffee, portable backpacking coffee makers, coffee bags, and more.

Keep reading to learn more.

1. Instant Coffee

Instant coffee is one of the best ways to brew coffee while backpacking. It has many benefits, but it is not for everyone. Let’s talk about its pros and cons.

The major advantage of instant coffee is its convenience in terms of time savings. You just have to measure the amount of powder and water you want, add some hot water, and stir. All of this in less than a minute.

Its learning curve is almost nonexistent, so anyone can prepare it, additionally, since instant coffee dilutes in liquid, it produces no waste in comparison with other brewing methods.

The final advantage is that usually, instant coffee is cheaper in the short term because you don’t need to buy any additional equipment.

However, the major downside of instant coffee is its flavor, it will never be as good as coffee brewed with fresh grounds.

Our top picks for the best instant coffee for backpacking:

2. Portable Battery Powered Coffee Machine

Coffee makers are usually confused with bulky machines only used in stores or at home. Well, that’s not the case.

The Makita DCM501Z Cordless Coffee Maker, as the name suggests, is a coffee maker that doesn’t require to be connected to a power source to work because it is powered by a potent Lithium battery. That makes it the best backpacking coffee maker option.

This coffee maker brews up to 3 cups of coffee of 5oz each. Additionally, it doesn’t need paper filters since it comes with a permanent drip filter.

These features are extremely helpful to make coffee while backpacking since you can enjoy several cups of coffee and you don’t need to pay extra money or extra storage on paper filters.

Apart from its extremely convenient battery, its design is very compact. It is only 8-9/16″ tall with a 3-1/2″ cup clearance, so you can store it easily in a bag. Or, if you don’t want to do that, it has a handle at the top that you can use to carry it around with you.

Despite all of these benefits, we only recommend this coffee maker for short backpacking trips since when it doesn’t have a battery it is pretty useless.

In case you are camping and you have a power generator, we would also recommend the K-Mini or K-Express, which are coffee makers that require a power source to work, but are kind of portable too.

3. Coffee Bags

In short, coffee bags are small portions of coffee inside sealed bags of paper, exactly the same as tea bags, but instead of tea, coffee.

The way they work is very simple, you add the coffee bag inside a cup with boiling water and wait for 2 to 5 minutes. The longer you leave the bag in the water, the stronger the coffee will be.

These bags also come in a lot of varieties, like decaffeinated coffee, and in several roasts, for example, light roast or medium roast.

So, their major advantage is that they are extremely easy to use and make coffee really fast. The major downside is that the flavor is not as good as if you were using a normal coffee maker like a coffee pot. The flavor is very similar to instant coffee for backpacking.

Our top picks for the best coffee bags for backpacking:

4. Collapsible Pour Over

If you really like pour over coffee this is a pretty good option while backpacking due to its extreme portability.

Collapsible pour over coffee makers are made of silicone and, as the name suggests, they can be easily stored by collapsing them.

Since they are made of silicone, they are very resistant, cheap, and they do not absorb odors or chemical taste, extremely convenient properties.

To make coffee while backpacking with one of these products, you just have to put your collapsible pour over a cup, insert a filter, add some coffee grounds, and then pour hot water over the grounds.

Our recommendation for enjoying pour over coffee while backpacking is the collapsible reusable silicone coffee dripper by Kuissential.

5. AeroPress Go

The AeroPress Go is a portable espresso coffee maker that doesn’t require electricity to function. It is another excellent choice to make coffee while backpacking.

It can produce from 1 to 3 servings of espresso coffee depending on the amount of water you add. Also, the coffee seems to be pretty good according to many reviews from previous customers.

Additionally, it comes with a handy mug and some accessories perfect for bringing this coffee maker with you everywhere.

The device itself is very simple to use, but it requires some practice to use to brew the best coffee possible from it.

6. Cowboy Coffee

This method has been used by wilderness travelers all over the years. It’s a unique way of brewing coffee that actually tastes pretty good, but it requires some technique.

First, you need a good pot with a handle, a pair of sturdy gloves, or a heavy cloth, and a cooking fire or portable stove.

First, you need to add some water to the pot and put it in the fire until it boils, and then add the coffee. It is recommended to add one tablespoon of coffee grounds per person. Also, 8oz of water per person is a good measure.

After about 5 minutes, remove the pot from the fire, and wait until it cools a little bit until the grounds are at the bottom of the pot.

Now, you just have to stir and pour your coffee into a cup. Make sure to do it slowly because you don’t want coffee residues in your cup.

Conclusion

These were 6 quick and easy ways to make coffee while backpacking. Each of them has its advantages and disadvantages, so we recommend that you experiment a little with them to find out which one is your favorite.

Personally, our favorite way to prepare coffee while backpacking is the AeroPress method due to its convenience and nice flavor.