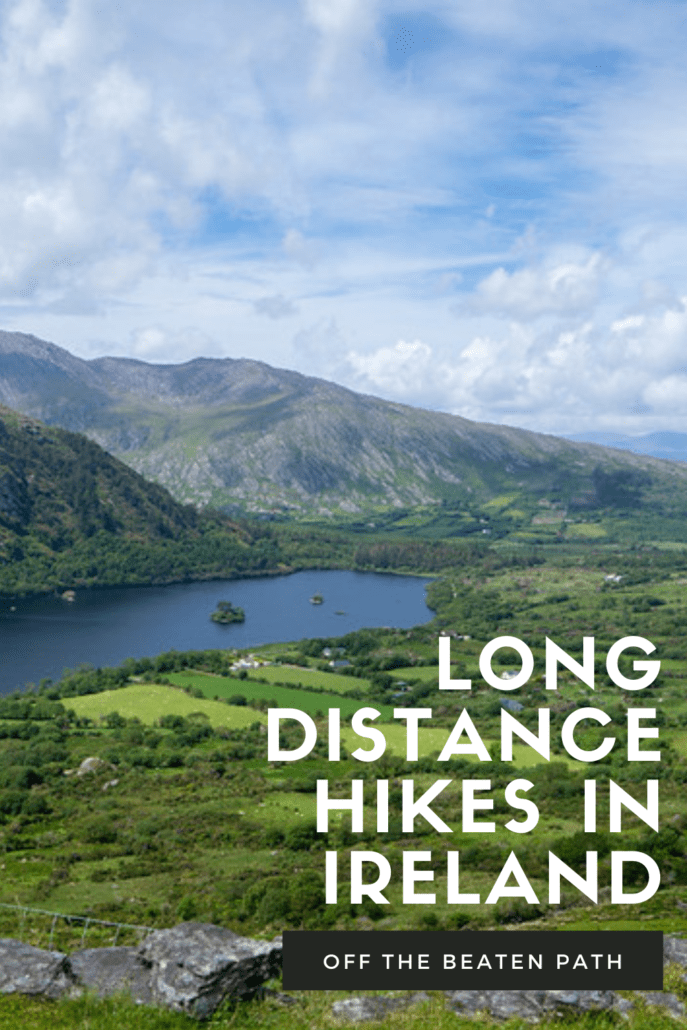
Are you planning a trip to Ireland in the near future? If so, you should consider adding one of the many long-distance hikes in Ireland to your bucket list.
The best time to go hiking in Ireland is between May and October, as temperatures are slightly warmer, and you can enjoy pleasant weather during your hike. However, it’s important that you pack the right gear, should random rainfall occur.
Many of the long-distance backpacking trails in Ireland will allow you to enjoy Ireland off the beaten path. During a hike, you may come across quaint villages which are definitely not on the average tourist’s radar.
To ensure you have a great hiking experience in Ireland, be sure to get the AllTrails app before you go. The app has an extensive list of the best trails for hiking in Ireland, with reviews from other hikers to keep you up to date on the latest trail conditions. You can filter by trail difficulty, length, and suitability and download trail maps to help keep you on track even when you’re offline.
There is a wide range of long-distance hikes in Ireland, where you can either camp along the way or find accommodation in the middle of your chosen route. As there are so many long-distance hiking trails to select from in Ireland, we have narrowed down some of the best treks available to explore.
1. Kerry Way (214 km)
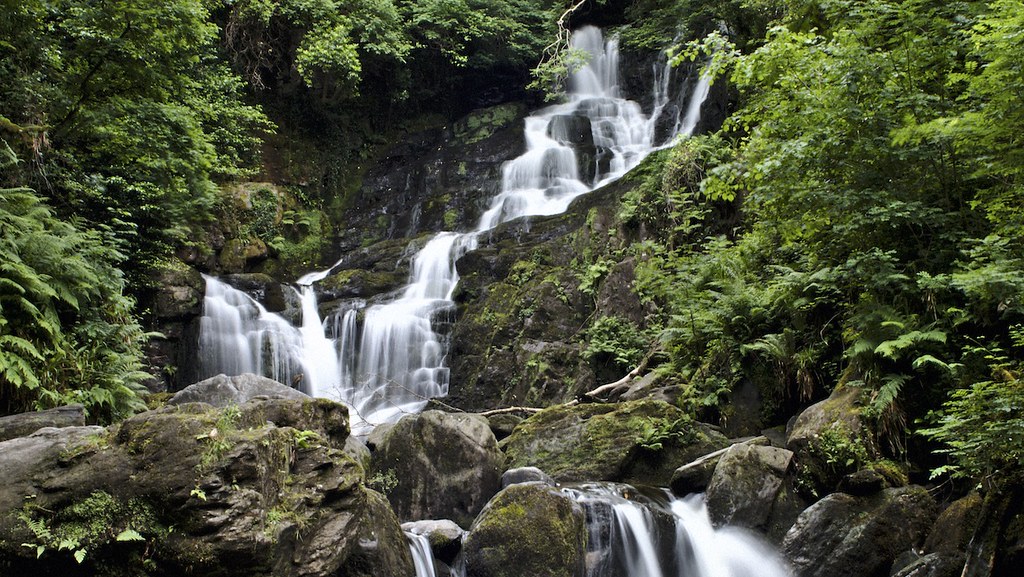
Torc Waterfall in the Killarney National Park
Kerry Way is one of the longest signposted hiking trails in Ireland which begins and ends in Killarney, a popular coastal town in the Republic of Ireland. Killarney is known for its brightly coloured 19th-century architecture, including St Mary’s Cathedral.
This hiking trail is a circular route that typically takes around 7 to 10 days to complete. Despite the length of the hike, it is a fairly easy route that is accessible to all levels. Although the terrain does differ, with everything from sturdy tarmac roads to boggy national parkland and farm areas.
Along the way, you will discover interesting castle ruins and ancient Celtic monuments, as well as stunning mountain landscapes. At the start of the hike, you can also enjoy the beautiful Torc Waterfall, which stands at the base of Torc Mountain within the Killarney National Park.
2. The Wicklow Way (128 km)
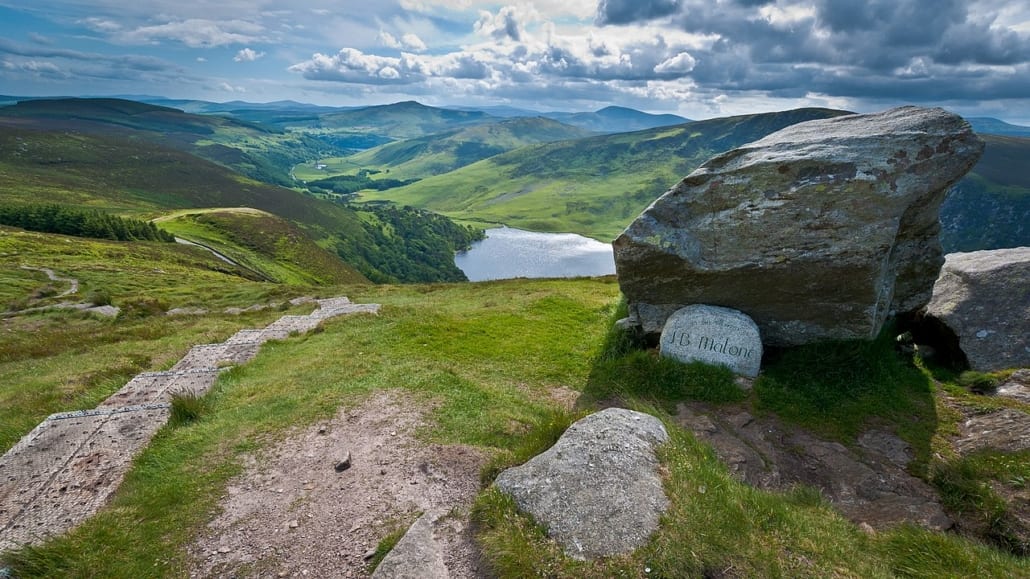
The J. B. Malone memorial above Lough Tay in the Wicklow Mountains National Park
The Wicklow Way is one of the most challenging backpacking trails in Ireland. The trail takes around 7 days in total, starting in the Dublin suburb of Rathfarnham and crossing 26 peaks throughout Dublin and the Wicklow mountains. The hiking trail ends in the small village of Clonegal in County Carlow.
The most popular route along the Wicklow Way is the north to south route, however, you can also take the south to the north route if you wish to start on low terrain and work your way up.
Whatever route you take, you will be able to enjoy a wide range of sights including Marlay Park, Fairy Castle, the Powerscourt waterfall, the peaks of Djouce, and more.
3. The Irish segment of the E8 Long Distance Trail (650 km)
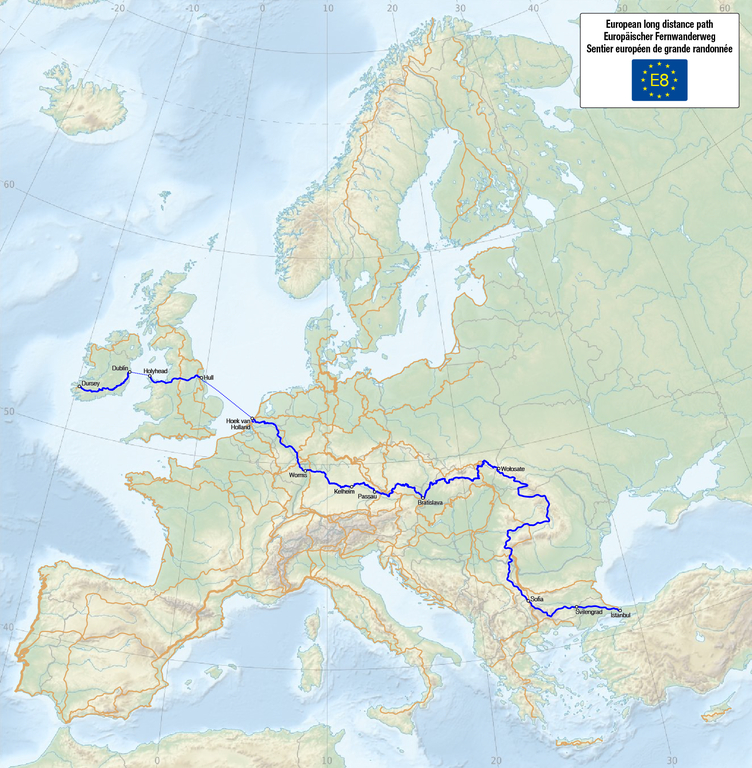
Walk the westernmost portion of the E8 Long-Distance Trail in Ireland
The E8 trail was established as Europe’s first long-distance hike, and it starts in Ireland in Cork’s Dursey Island – the westernmost tip of Europe. The whole trail stretches to Istanbul, Turkey, although the Irish section begins at Dursey Island and ends in Dublin City.
Part of the route overlaps with some of the best long-distance hikes in Ireland including the Wicklow Way, the Kerry Way, the South Leinster Way, and the Blackwater Way.
The Irish segment of the E8 trail goes from coast to coast and allows you to see all of rural Ireland including the bogs, mountains, windy country roads, old castles, and even ancient burial sites.
4. Dingle Way (183 km)
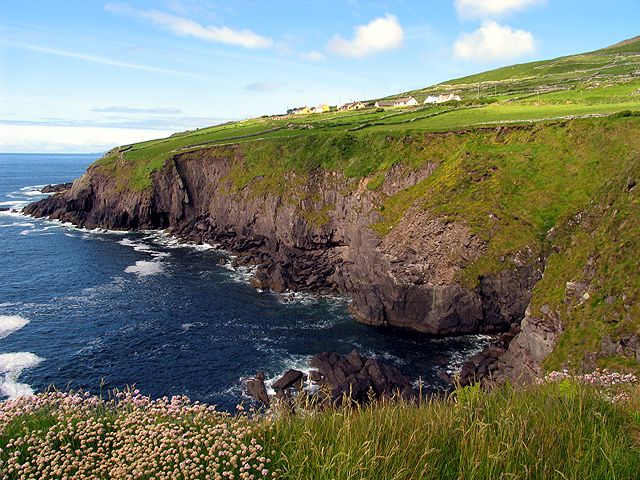
Cliffs along the Dingle Way towards Slea Head
Ireland’s Dingle Way is a circular backpacking trail that covers the Dingle Peninsula and takes around 6 to 8 days to complete. This is an easy to moderate walk with well-maintained terrain throughout.
The Dingle Way starts and ends in Tralee, in the South-west county of Kerry. Tralee is known for its yearly Rose of Tralee International Festival, which is held every August. This is a contest that celebrates Irish women all over the world.
The Dingle Way offers stunning views of beautiful beaches, lively towns, and mountains. When you get to the foot of Mount Bradon, the difficulty of the trail increases, however, it’s nothing the average hiker can’t handle.
5. The Beara Way (206 km)
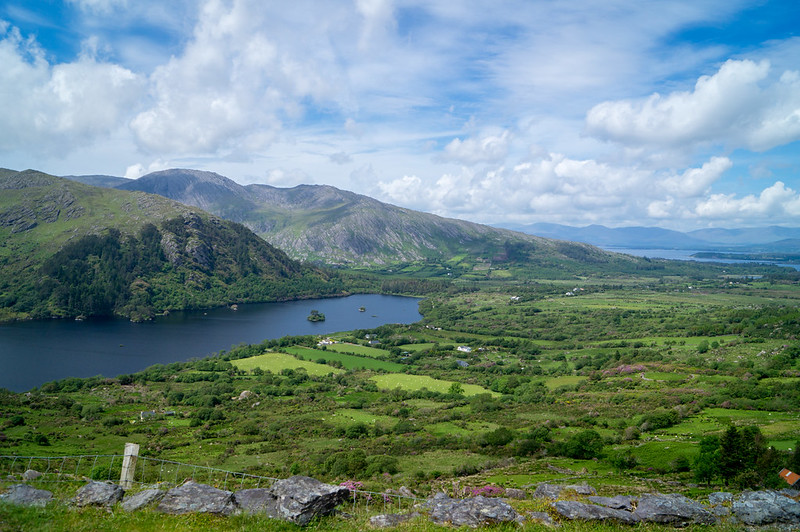
Beara Peninsula countryside on the Beara Way
The Beara Way is a circular long-distance hike in Ireland that begins and ends in Glengarriff, a tiny village in the Beara Peninsula of County Cork. It takes about 8 to 12 days to complete the entire backpacking trail, however, you can start the hike at various points.
Most of the backpacking trail is dry, there are parts of the walk that are boggy, so it’s advised that you bring waterproof shoes. There are also various steep climbs and rough terrain, so it’s important you stay focused while you walk.
During the walk, you will come across spectacular Atlantic views, as well as plenty of wild mountainous land. You will also have the pleasure of visiting Bere Island during the trail, where you will find historic military buildings, plenty of heritage, and even the opportunity to go whale watching.
The collection of long-distance hikes in Ireland does not stop here, as there are plenty more backpacking trails and sights to explore on The Emerald Isle.
For more facts on travel in Ireland, take a look at our Backpacking Ireland guide, which uncovers everything you need to know about Ireland including where to stay. It also discusses things to do while you are there, as well as Republic of Ireland visa requirements and work permit information.