Every dog owner knows that their dog is their go-to companion for everyday life. Are you one such dog lover? If so, then we are sure that you’ll be excited about the adventure of a road trip with your dog by your side. And why shouldn’t you be? As long as you travel safely, having your favorite travel buddy by your side can make your road trip even more fun. Here are seven tips for you to know when planning a road trip with your dog for a smooth and safe experience.
1. Keep Them Warm
Oftentimes, we forget to keep our dogs warm in cooler temperatures. If you plan a trip somewhere cold, you should take some Dog Jackets for Winter. These will help keep your dog warm to prevent any health issues caused by the cold. Naturally, you will enjoy the trip much more, knowing that your dog is entirely safe and sound in the pullover you bought for them.
Apart from caring for your pup by taking along warm clothes, you should also make sure that your vehicle’s heater is working correctly to make your dog’s ride more comfortable.
2. Keep Important Pet Documents Handy
If you’re planning a road trip with your dog, be sure to carry all the pet-related documents with you in your car. Here’s a quick checklist:
- State-issued dog or pet license.
- Anti-rabies and vaccine record.
- Medical check-up files in case of a visit to an out-of-town vet.
The medical files and records can come in handy if your dog gets sick during the vacation leading to a trip to a vet during your road trip. The new vet will be able to go through their medical history to conclude what treatment to begin with.
To be on the safe side, you can also use mobile apps that let you digitally store all the documents in one place. Most of these applications are cloud-based, so you can access them from any device you want, given you remember your account’s password.
3. Practice Responsible Behavior in Public Places
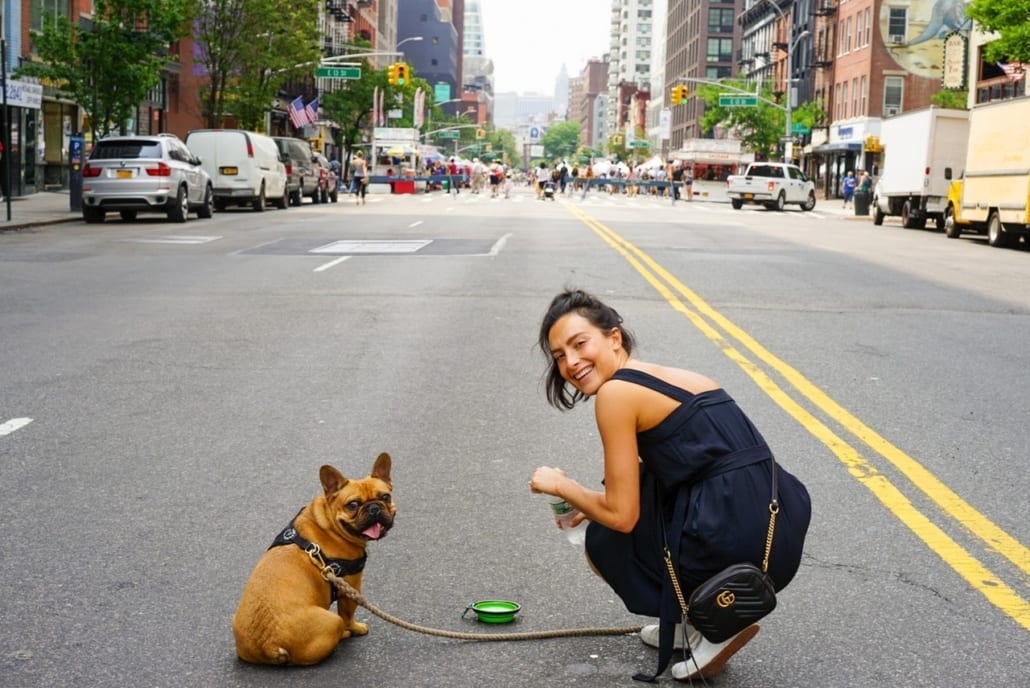
Be a responsible dog owner during your road trip
We know your dog means the whole world to you, but the world as a whole might not always feel the sane way. Whenever you take a pit stop on your road trip with your dog, make sure to keep them on their leash.
If you don’t leash your dog in public places, they could chase people, or other animals, creating unrest in the surroundings, which we don’t want.
If not taken care of, this act might even land you and your dog in trouble, and you may be fined by local law enforcement. That would be a quick way to spoil your holiday mood.
Apart from this, you should also teach your dog to refrain from sticking their heads out from the windows of your car. This could cause them serious injury and can cost you a fortune in medical expenses.
4. Carry The Essentials During a Road Trip with Your Dog
While you are planning a road trip with dogs, it’s natural that you’ll be excited about the experience. But with all the excitement, you shouldn’t forget to carry essential items that will come in handy later on your trip.
Make a list of things that you might need in different situations and carry those things with you. To start with, here is a generic list of items that you might need:
- An extra blanket for your dog.
- Extra tough and durable mats for seats so that your dog doesn’t ruin your car seat covers.
- Some packets of your dog’s favorite biscuits and snacks to ease the journey a bit.
- Some medicines to help soothe any nausea that your dog might experience during the ride.
- Life safety tubes if you are headed to the poolside or a beach. This will let your dogs enjoy the water safely.
- A leash to keep your dog’s excitement under control.
5. Give Your Dog Their Own Space During the Road Trip
To make their ride more comfortable, your dog shouldn’t ride shotgun. Instead, it would be best for your dog to ride in the backseat of the car. This way, it will be comfortable for both of you. You and your dog will get optimum space for yourself and will enjoy the ride a lot more comfortably. If possible, you can also have a barrier between the driver’s seat and the passenger’s seat. This will make your dog even more comfortable and will keep them safe in the event of an accident. The barrier will also prevent your dog from distracting you throughout the ride.
6. Don’t Plan A Road Trip When Your Dog is… Grumpy
Plan your road trip with your dog’s condition in mind
Dogs are lovely, but they can be grumpy too. During their heat, female dogs can also be pretty much in a mood to wreak havoc here and there. They might feel sick and nauseous also. An excellent way to avoid this is to keep track of their cycle and plan your road trip accordingly.
7. Keep Track of Your Dog using GPS
Your road trip might include some time to camp in the countryside or somewhere remote. In that case, it’s natural that your dog would want to roam in the wilderness, and you can’t run everywhere behind them.
Naturally, they might lose their way in the woods, or a wild animal might try to prey on them. For emergencies, you can tie a GPS tracker on their collar or ankle. This will ensure that you will be able to locate your dog if they happen to wander off.
As you can see, you need to be extra careful while planning a road trip with dogs. In addition to items in your own suitcase, you’ll need to do some extra planning to ensure that your dog has a comfortable experience. In addition to the eight items discussed, a few essential things to consider adding to the list are the dog’s full photograph, extra food, odor eliminator, pet wipes, bells and a whistle, an extra leash, and portable water and food bowls. With these items and the proper preparation, you can have a memorable road trip out with your dog.