When people are looking for a summer holiday in Australia, it is more common to look along the East Coast and the Islands available. Can you believe there are over 900 Queensland Islands situated just off this 2000 kilometres stretch of land? Obviously, not all these Queensland islands are habited and not that easy to visit.
Some Queensland Islands are available to visit on a day trip, whereas others have accommodation and camping facilities for a weekend stay. Conveniently, most are located along the World Heritage Listed Great Barrier Reef and are a brilliant way to explore underwater life. Today, we are bringing 10 amazing Queensland Islands to visit for a weekend, which are easy to get to and the most popular.
Note that is you have a small budget in mind, there are a couple of Queensland Islands that are better to visit for a weekend than others. However, as a whole with transfers and facilities available, the costs are higher than staying on mainland. Consequently, day trips and tours can be a more cost-effective way to get a taste of the Islands experiences, while keeping within a strict budget.
The winter season in Australia runs from June to August, and the southern Queensland Islands are a touch cooler in the waters. Alternatively, the summer seasons are brilliant swimming weather, although there is more rain in the region. Therefore, it’s recommended to visit the Queensland Islands around your shoulder seasons in autumn and spring for a planned trip.
Lady Musgrave Island
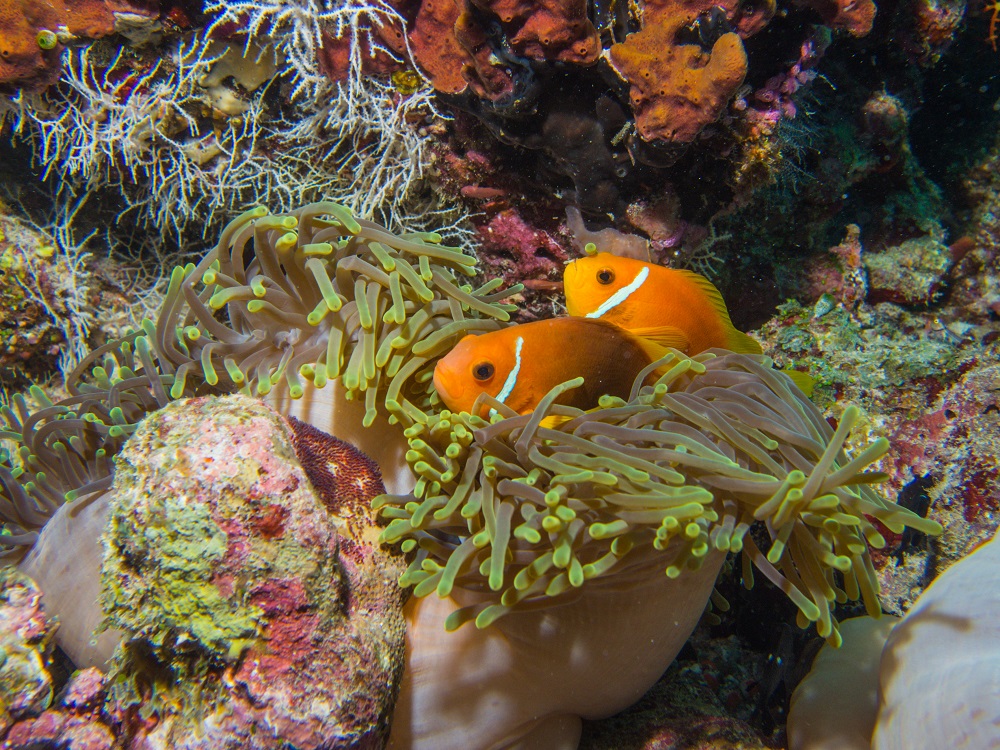
Coral Reef Fish at Lady Musgrave Island
You can day trip to Lady Musgrave Island from 1770/Agnes Water or Bundaberg, or extend your stay for a weekend. This visit to the southern end of the Great Barrier Reef and a great option for those not able to visit the northern region of Queensland. Boat trips take about 2 hours to get there, and the organised tours allow you to snorkel, view through a glass-bottom boat, and a small land tour.
If you’re travelling from Bundaberg, then there are options for diving the Coral Reefs and sleeping overnight on a purpose-built pontoon. The pontoon offers more room for day-trippers and a top deck for people soaking up the sun. Alternatively, the luxury glamping huts are a big hit for those after a romantic experience.
Snorkelling the reef is beyond amazing, with thousands of different fish and a brilliant spot for finding turtles all year round. The hard and soft corals provide protection for the smaller fish. You’ll also find larger fish hanging out under the large coral bommies.
North Stradbroke Island
Point Lookout North Stradbroke Island in Queensland
The island of North Stradbroke lies 45 mins off the coast of the Queensland capital, Brisbane. This Queensland Island can be easy enough to visit on a day trip, but with so many different things to see and do, it’s better for a weekend. The Ferries can take any vehicles across to the Island, along with just the visitors using public transport. It’s the second-largest sand island in the world and has a permanent population of 2000 people.
While some of North Stradbroke Island will require a four-wheel drive to access the beaches, there are plenty of sealed roads and buses to help you get around. Conveniently, accommodation styles range from Backpacker hostels, caravan sites, beach camping, motel rooms, or Luxury homes.
Plenty of different beaches or places for swimming are on offer, with variety in the amount of surf and freshwater lakes. You can wander the small district and shop for local clothes, art or crafts, or pop into the bakery or café for meals and drinks.
Hamilton Island – The Most Popular of the Queensland Islands
Hamilton island, The Whitsunday Islands, Queensland
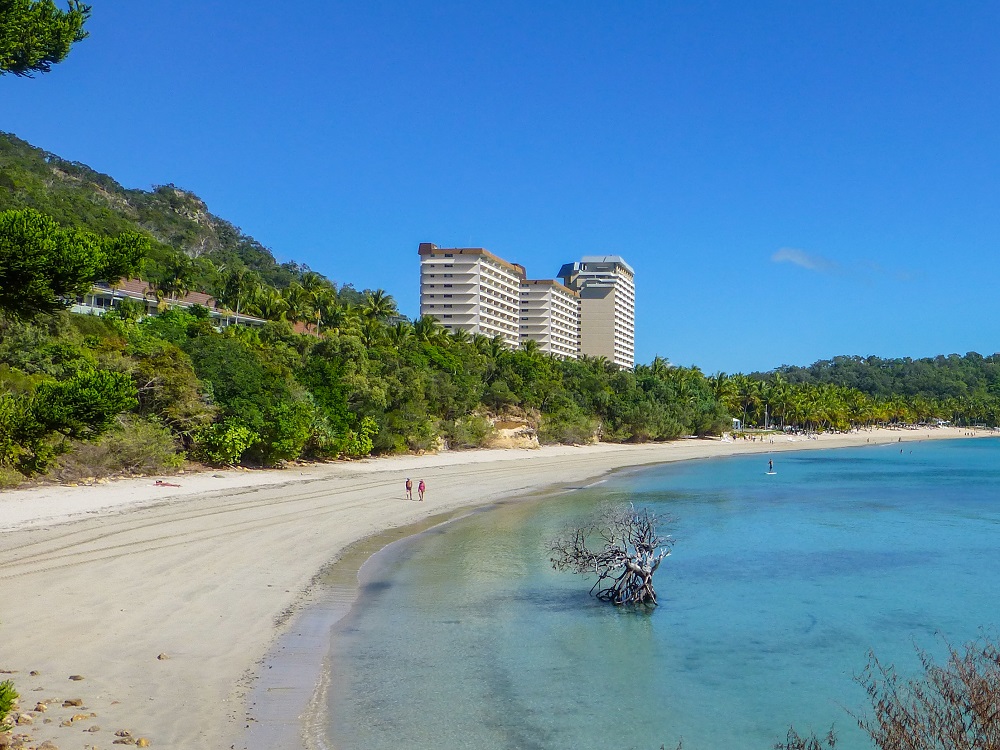
Hamilton Island is located in the Whitsunday network, has easy access from Airlie Beach, and even has its own airport. It’s the perfect Queensland Island to visit for a weekend. There are no cars allowed on this Queensland Island, but visitors get around in golf buggies. There are a few different resorts to choose from, or you’ll find secluded holidays home available to rent. Great for a romantic holiday, or even get married there with a purpose-built Chapel.
There are several different activities to do with paddle boarding, snorkelling, and swimming around Catseye beach. Alternatively, you can laze the days away by relaxing on the beach in a lounge chair. Other than that, you can take advantage of the Whitsunday network, which provides ferries to other areas, including the famous Whitehaven Beach or Hill Inlet.
Lady Elliot Island

Lady Elliot Island from the air, Queensland
Lady Elliot Island can only be accessed by plane from either Gold Coast, Brisbane, Hervey Bay, or the closest to Bundaberg. Many will visit this stunning Queensland Island on a day trip of snorkelling fun, or stay in the Eco-friendly resort, for a longer weekend stay. Furthermore, they have a sustainability program set up to ensure the coral cay and the southern Great Barrier Reef area is preserved for many years to come.
It’s all about the water activities with snorkelling, diving, or walking through the reef at low tide. You’ll find many turtles swimming around with you, along with reef sharks and Manta Rays (in Season). On land, you can explore the local bird habitat and the long history behind Lady Elliot Island itself.
Bribie Island – The Most Accessible of the Queensland Islands
Bribie Island National Park in Queensland, Australia
Bribie Island happens to be one of the easiest Queensland islands to visit for a weekend, with the fact you can actually drive there. It’s located off the coast of North Brisbane and separated by the mainland by the Bribie Island Bridge. This means there is a large in-built community and a population of over 16 thousand people.
Most people will visit Bribie for the quiet laidback atmosphere, while also being the best beach so close to Brisbane City. You have the west coast facing the mainland with quiet low-key waters. On the other hand, the east coast faces the Pacific Ocean and often has the surf.
The kids will love experiencing the butterfly house, especially on a bright sunny day. There is also a large golf course, four-wheel driving areas through the National Park, or a place to hire water equipment like paddle boards. The Museum will help you learn about Bribie Island’s history, or you can just sit by the beach, watching the sunrise.
Daydream Island
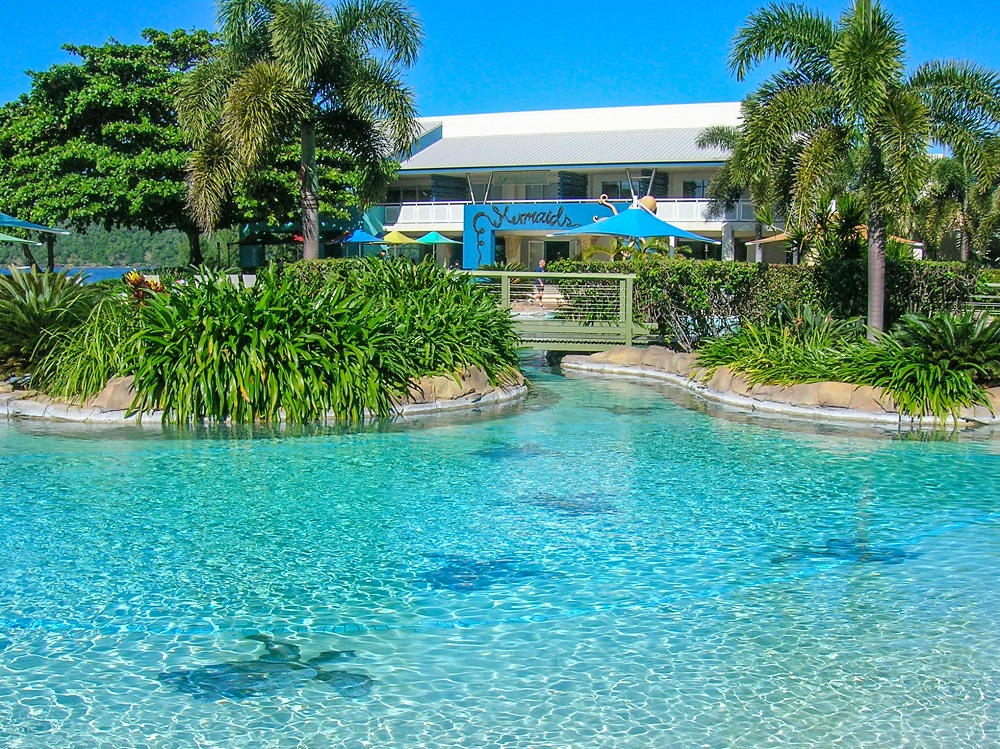
Lagoon Pool At DayDream Island, Queensland
Daydream Island can be accessed by ferry from Airlie Beach and is also part of the Whitsunday Network of Islands. It’s one of the smaller Queensland islands to visit for a weekend but doesn’t disappoint with its facilities. Everywhere on this Queensland Island can be walked within 30 minutes, whether it’s along the beach or through the bushland. Their rooms offer a tranquil setting with views of gardens or oceans.
A coral lagoon has been set up and makes it easier to experience the underwater creatures, especially for young children. It’s home to over 100 species of fish, starfish, sea cucumbers, and crabs. Not only that, but there is a landscaped pool that meanders through the gardens allowing the visitors to swim in the tropical settings.
Heron Island – Turtle Nesting in the Queensland Islands
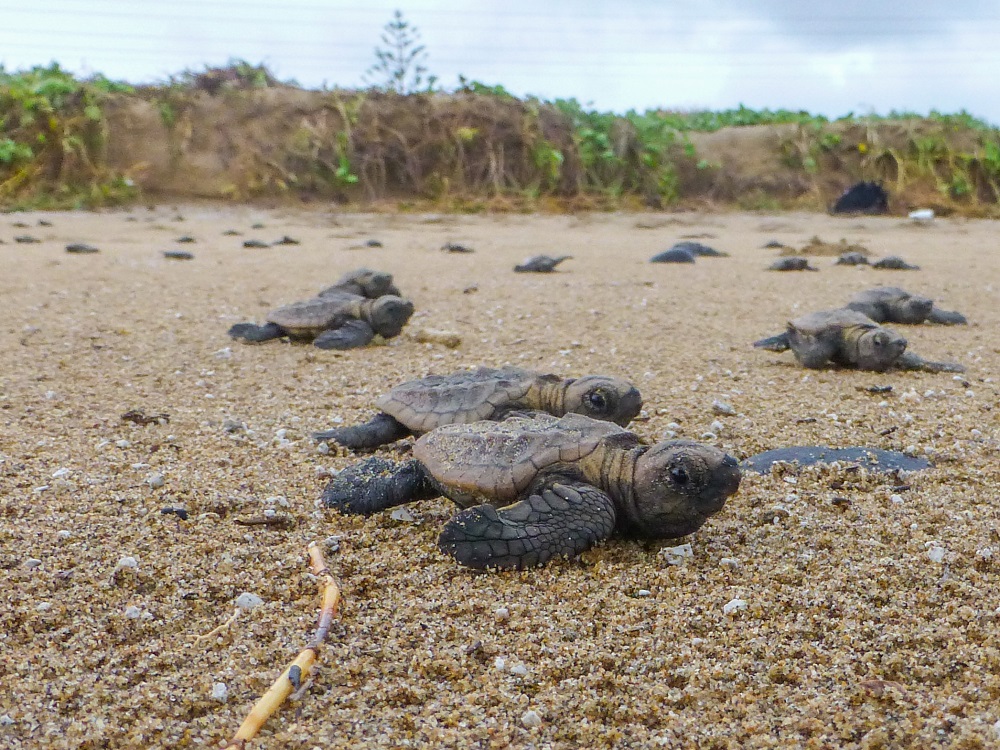
Turtle Hatchlings at Heron Island, Queensland
Heron Island is located in central Queensland and can be accessed by helicopter or catamaran from Gladstone. It’s a great option if you’re looking for a Queensland Island to visit for a weekend trip. The more popular boat option leaves 5 days a week and takes about 2 hours to arrive in this island paradise. Currently, the resort will cater to several different room types, from budget to the more luxurious. They can also cater discounts for large groups, weddings, and even business conferences.
Apart from the obvious water activities, Heron Island is known for its turtle nesting population. This means you can see Turtles all year round in the nearby coral reef waters. However, you can witness their Turtle nesting season from November to March each year.
Apart from that, Heron Island has a long history from being a turtle cannery in the 1920s and finally listed as a National Park in 1943. There is a large bird habitat on the island and many different tours help you learn about the Great Barrier Reef and its surrounding.
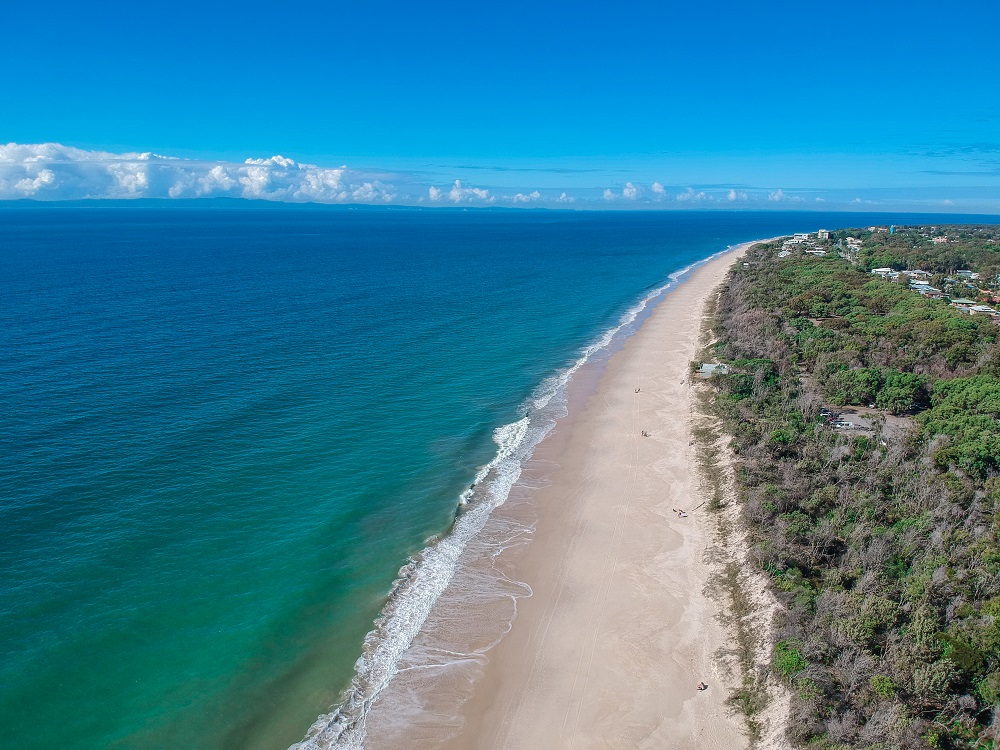
K’Gari/Fraser Island
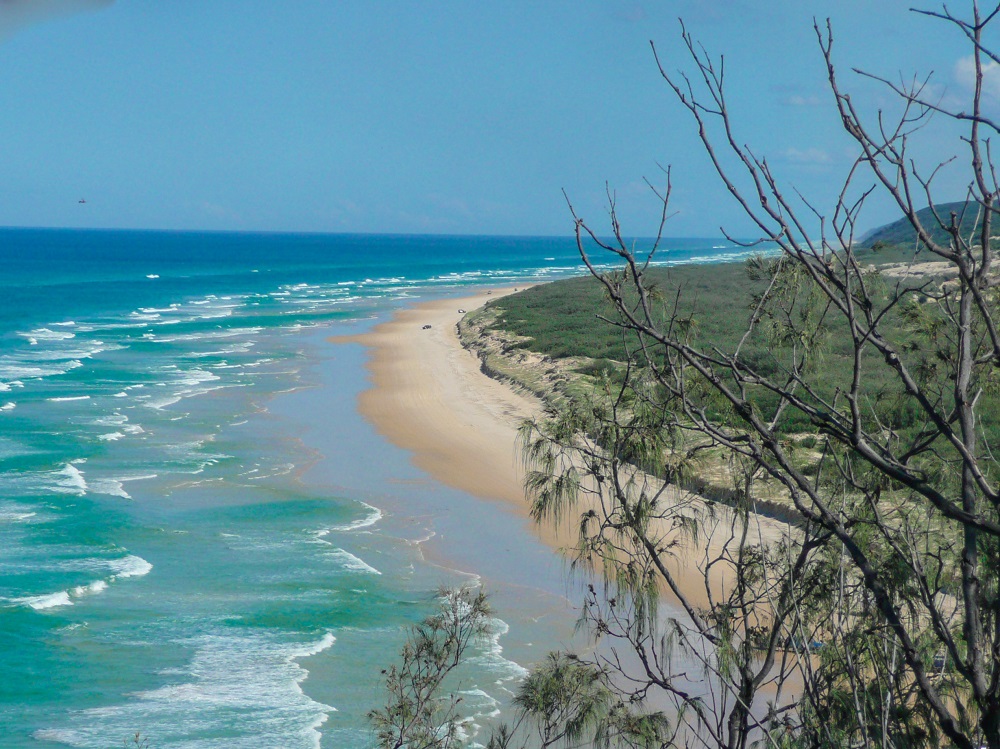
Fraser Island views from Indian Head, Queensland
The beautiful K’Gari or otherwise known as Fraser Island, is the largest sand island in the world. It can be accessed by a barge from either Hervey Bay or Inskip Point near Rainbow Beach. It’s hugely popular for the locals as a four-wheel drive and camping location but also loved by the tourists for its unique sites.
Conveniently, Fraser Island is easy enough to visit for the weekend, with one or two-day tours and staying in the resort accommodation. Others will stay for an extended weekend or longer in the many camping locations or holiday homes. Either way, you going to witness many different sites that you can’t see anywhere else in the world.
These include a rainforest growing in the sand at the highest altitude and freshwater streams flowing through the forest for swimming. Not only that but the Pinnacles Rock formation, champagne rock pools, and the SS Maheno Shipwreck that’s slowly eroding away.
Moreton Island
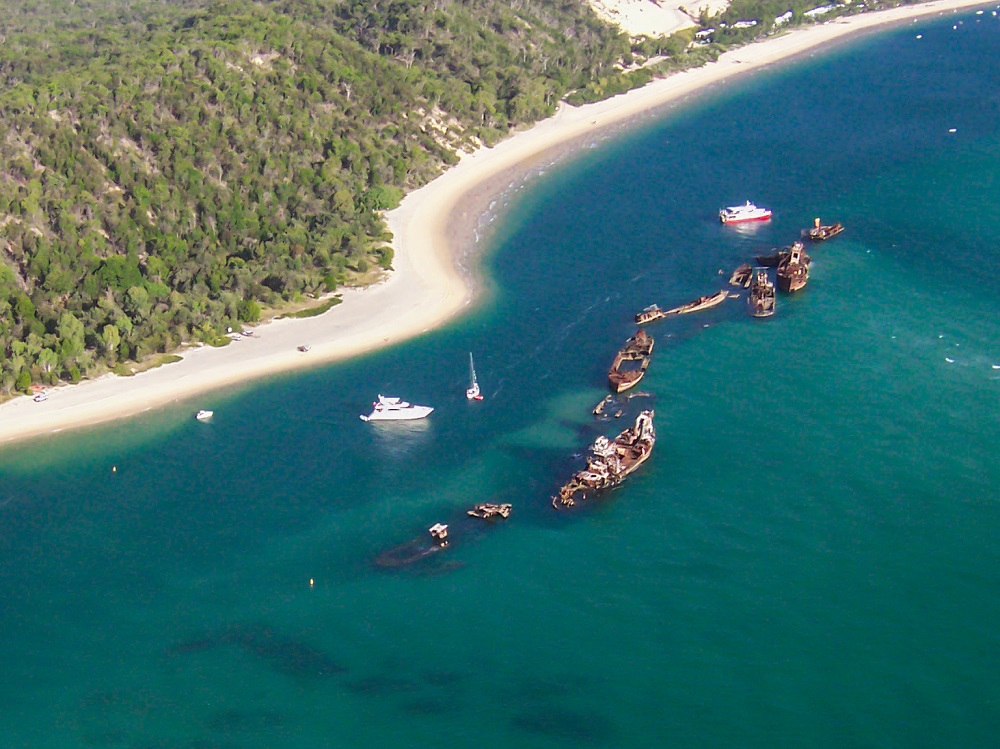
Tangalooma Wreck, Moreton Island Queensland
Moreton Island Lies 1.5 hours off the coast of Brisbane and is the third-largest sand island in the world. Most people will visit the Tangalooma Island Resort for the weekend and enjoy the activities it provides. However, the biggest draw card would be the nightly dolphin visit, where you can get up close to these wild creatures.
The Resort provides many different styles of accommodation, from budget to luxury, as well as a restaurant, bar, and activities & tour booking centre. You can visit this Queensland Island for a day, but we recommend at least an overnight stay to experience most of the sites over a weekend.
Obviously being a sand island, there are four-wheel-drive tours that take you tobogganing, or snorkelling/ diving tours to explore the 14 different shipwrecks. Jet skis can be hired, kayaks, paddleboards, or even Quad bikes or Helicopter tours. Consequently, at the end of the day and with the resort facing west, it’s a magnificent spot to watch a sunset.
Magnetic Island
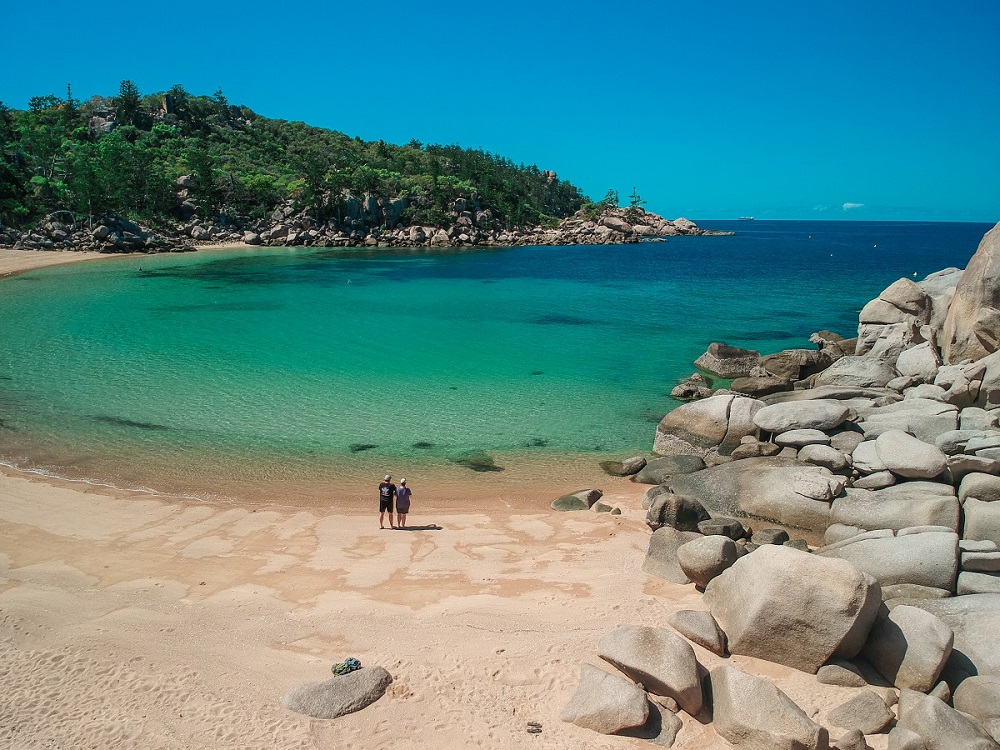
Arthur Bay, Magnetic Island near Townsville
It takes 30 minutes to access Magnetic Island off the coast of Townsville in North Queensland. Conveniently, you can choose to take your own vehicle to the Island or hire one when you get there. Not only that, but with a population of more than 2000 people, there is an in-built community with plenty of sealed roads.
There are luxury-style hotels with marina and beach views, a hostel with its own private beach, and lots of Airbnb options. With the multiple ferry times, you can access the Island for at least 9 hours of fun and exploration.
The beaches and water activities are always on offer with any Queensland Island you visit. However, Magnetic Island does contain a few different hiking trails and uniquely one that explores WWII remnants and sees the local koala Wildlife, making it a perfect Queensland Island for a weekend trip. Additionally, every evening the allied rock wallabies start jumping around at Geoffrey’s Bay, which makes for an exciting display to see in the wild.
I hope this helps you plan which Queensland Islands to visit for a weekend when traveling Australia. I’m sure there is one suited just for you, and you won’t regret your visit.
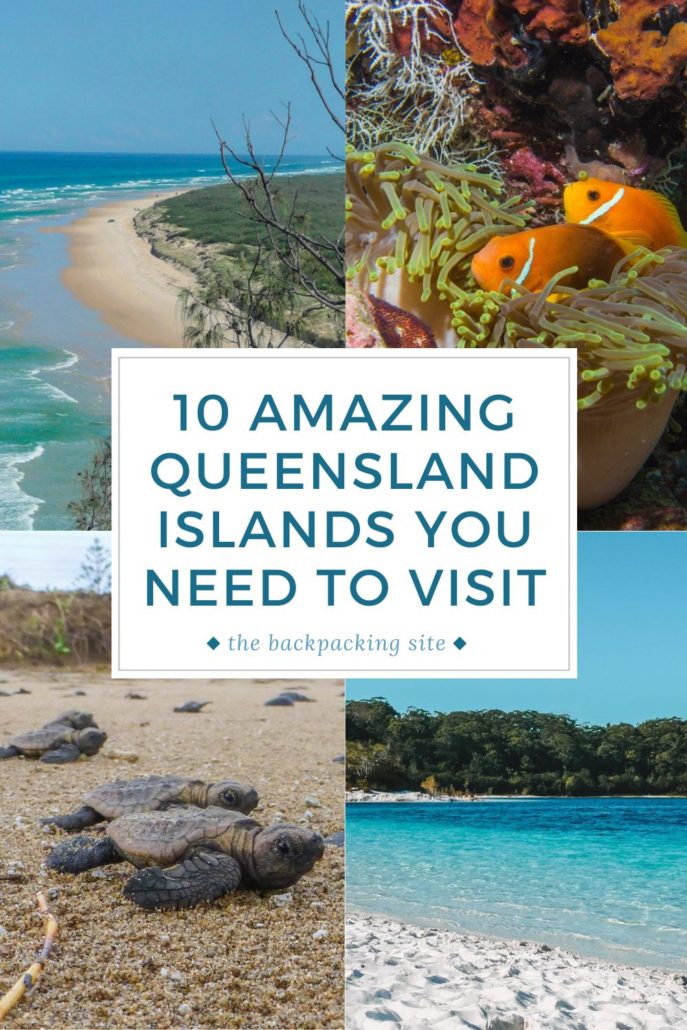
Pin 10 Amazing Queensland Islands You Need to Visit