Are you planning your first backpacking travel adventure? This can be both exciting and stressful, especially if you’re not sure what you pack. Whether you’re backpacking Europe, exploring Southeast Asia, or travelling throughout South America, there are a few backpacking essentials you’ll want to take with you from home.
To help you get started, take a look at our ultimate backpacking packing list, which will ensure you have everything you need for your trip.
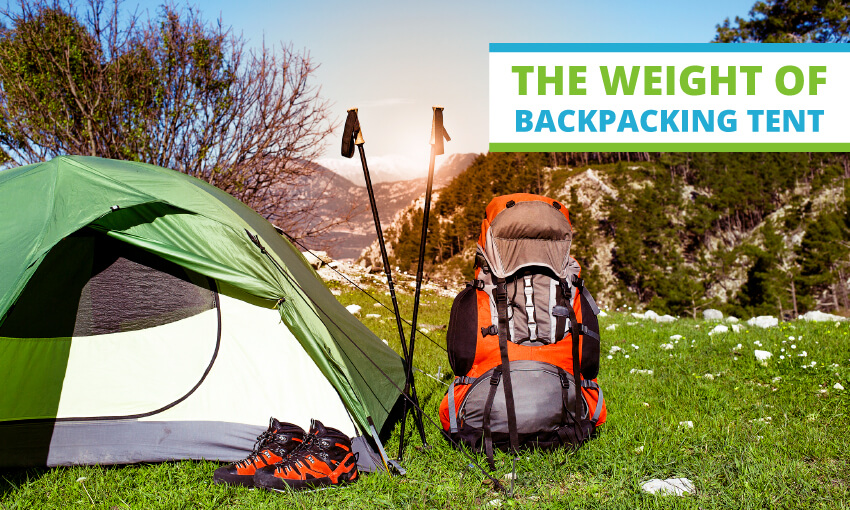
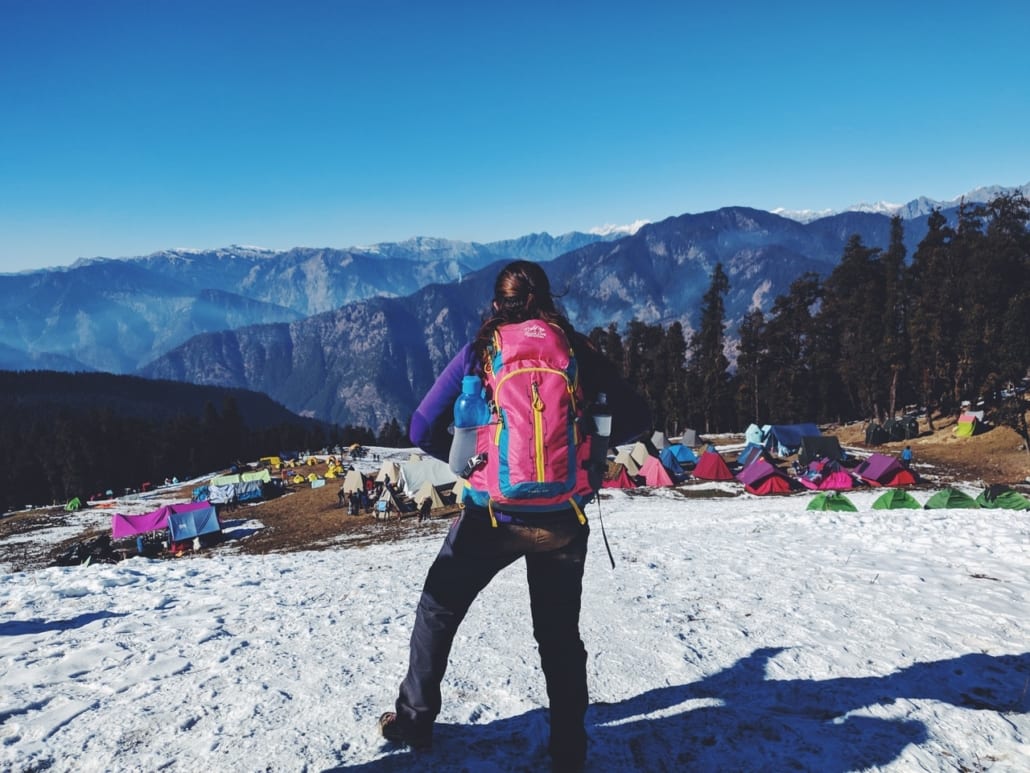
1. Backpack
Choosing a backpack should be the first thing you consider, as the right bag can make or break your trip. If you choose one that’s too small, you won’t be able to fit all your belongings in it, while a backpack that’s too big can slow you down and make your journey unpleasant.
When deciding on a backpacking backpack, consider the type of trip you’re taking as well as the type of gear you need to bring. A 30-40 litre bag is carry-on size and will fit a few days of clothes. For a longer world backpacking trip, you should be looking at bags that are 50-65 litres.
There are plenty of backpack brands to choose from, so it’s important to take your time and shop around for your particular body size. You should try on plenty of bags in-store and ask for size guidance to make sure you purchase the right one.
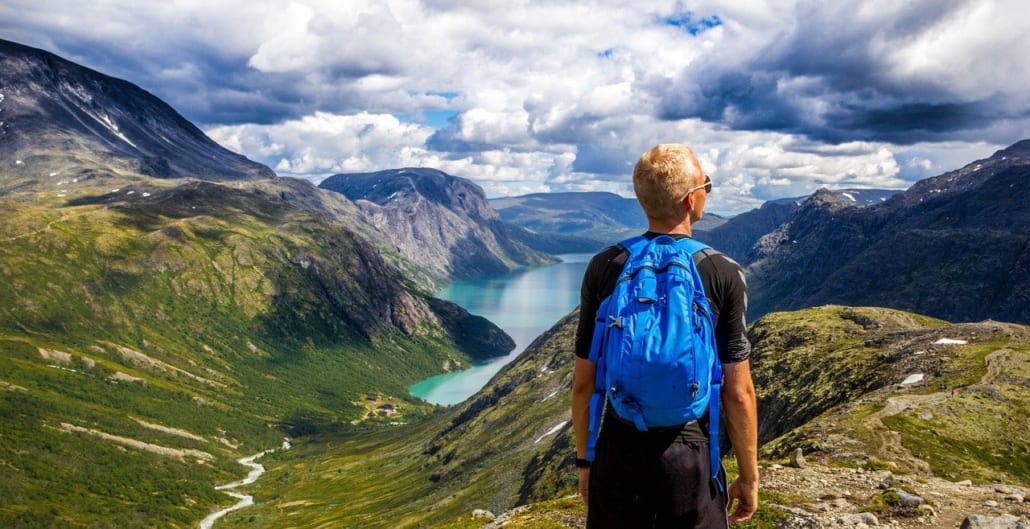
That being said, one of the most popular backpacks for world travelers is an Osprey 65L backpack. They are durable, easy to load, and most importantly, comfortable. Women’s and Men’s backpacks are shaped somewhat differently, so purchase accordingly:

- Best Women’s Backpack: Osprey Ariel 65L
- Best Men’s Backpack: Osprey Atmos 65L
2. Day bag
Bring a small collapsible pack for your day trip excursions
For certain trips, you may want to leave your bulky backpack at your accommodation and instead opt for a lightweight day bag. It would be best if you buy a foldable day bag to fit inside your larger backpack.
Again this shouldn’t be too small or too big, as you need to make sure it’ll fit essentials such as money, your passport or even your visa. Try to choose a day bag with various compartments, as this allows you to separate your lunch from your toiletries.
3. Waist bag or money belt
When backpacking around the world, you need to be extra careful when carrying around money, as pickpockets tend to target tourists. So, the best way to keep your currency safe is by storing it in a waist bag to keep it close to your person.
You can wear it proudly in front of you, wear it concealed under your clothes, or wear it as a cross-body bag.
There are a wide range of waist bags to choose from in a wide range of colours, so you can select a design to suit your preferences. The majority of money belts and waist bags can also be adjusted, so you don’t have to worry about it slipping down while you’re walking.
4. Padlocks
To keep your belongings safe, you should definitely invest in padlocks. This small item on your backpacking packing list can be a lifesaver during your travels! You can quickly and easily secure your bag or hostel locker with a padlock for just a small cost.
Your luggage lock will also work on your backpacks, which will ensure all the contents are safe, especially your passport, as losing this would be a nightmare.
5. Universal travel adapter
One thing you will need to have on your backpacking packing list is a universal travel adapter, which will work for your phone charger or any other electronic devices you bring along.

A universal travel adapter will solve all your plug issues, especially considering there are fifteen different power plug shapes around the world! So, instead of lugging different types of plugs around, you will only need a multi-purpose adapter. Just make sure you don’t leave it in your hostel!
6. Laptop
If you’re travelling alone, you’ll want to keep in contact with your friends and family to keep them in the loop about where you are off to next. Or maybe you want to document your journey on a personal travel blog.
The best way to do this is by taking a travel-size laptop. A Macbook air is the most popular laptop for digital nomads because it’s durable, lightweight, and compact.
If you are a freelancer or can work on the road, you can also use your laptop to work as you travel. You could even start up a public blog to document your travels and share your experiences with a wider audience.
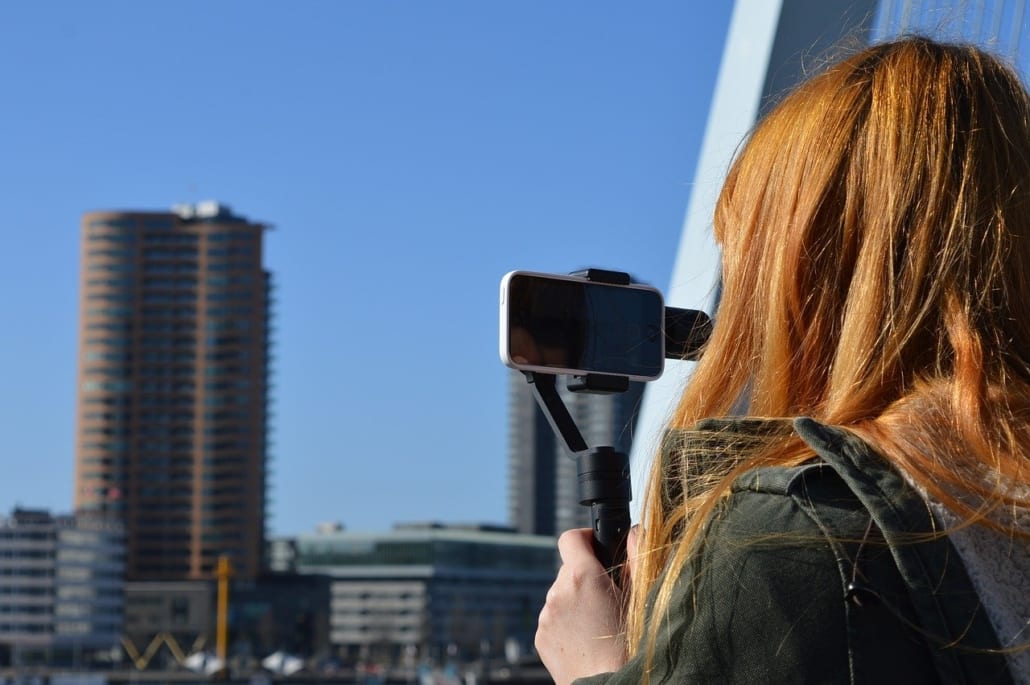
7. Camera
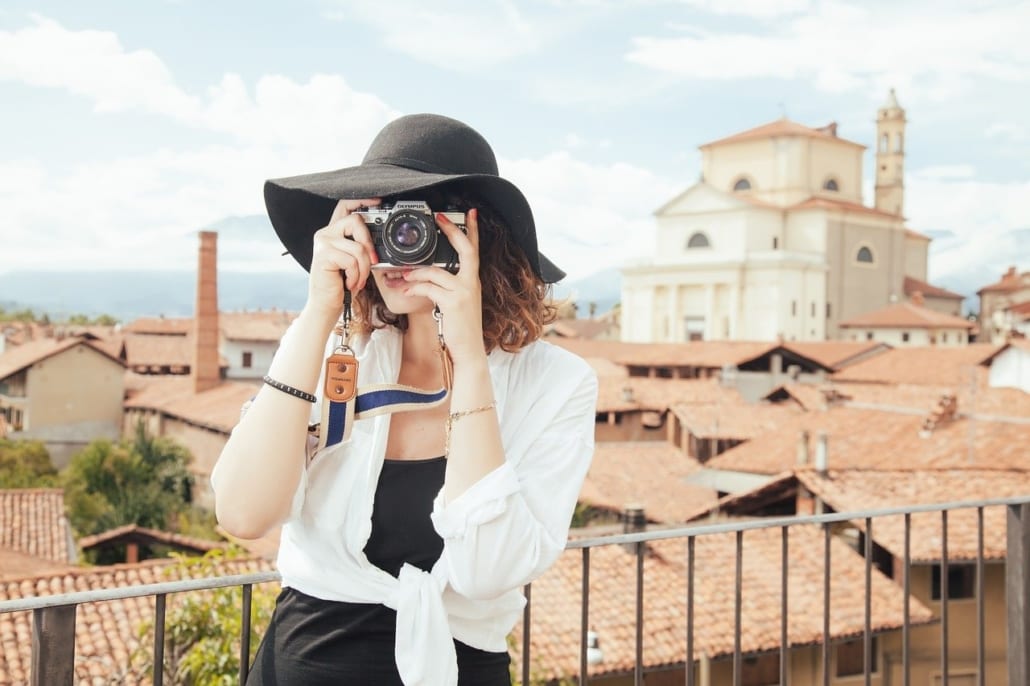
A camera will help document your once-in-a-lifetime backpacking adventures
Your phone camera is sufficient for everyday life, but backpacking around the world is a once-in-a-lifetime experience! You’ll want to document all the amazing things you encounter along the way because your travel photos will be invaluable once you return from your epic journey.
This is exactly why you need a good-quality camera, which not only takes great pictures but also fits perfectly and safely in your backpack.
Most cameras these days come equipped with Bluetooth or Wi-Fi capabilities, which means you can easily send them to your laptop or phone if you want to post them online along the way.
There are plenty of action cameras to choose from, so you do research and ask around to see if anyone can recommend a good camera that will capture all your memories and enhance your blog.

A GoPro is the ultimate backpacker gadget for adventure-seekers
If you have the technical know-how, you may want to bring a high-tech DSLR camera that allows you to capture stunning photos. For some of us, a more compact point-and-shoot camera will do the trick and has the benefit of being small enough to fit in your day pack.
However, if you want the ultimate backpacker gadget, you should bring along a GoPro which can accompany you everywhere from underwater adventures, to skydiving during your world travels.
8. Travel towel
Another essential item for your backpacking packing list is a quick-drying travel towel, as you will be moving from different hostels as you backpack from city to city, where you will need a hygienic towel. A travel towel is compact and can fit easily inside your backpack.
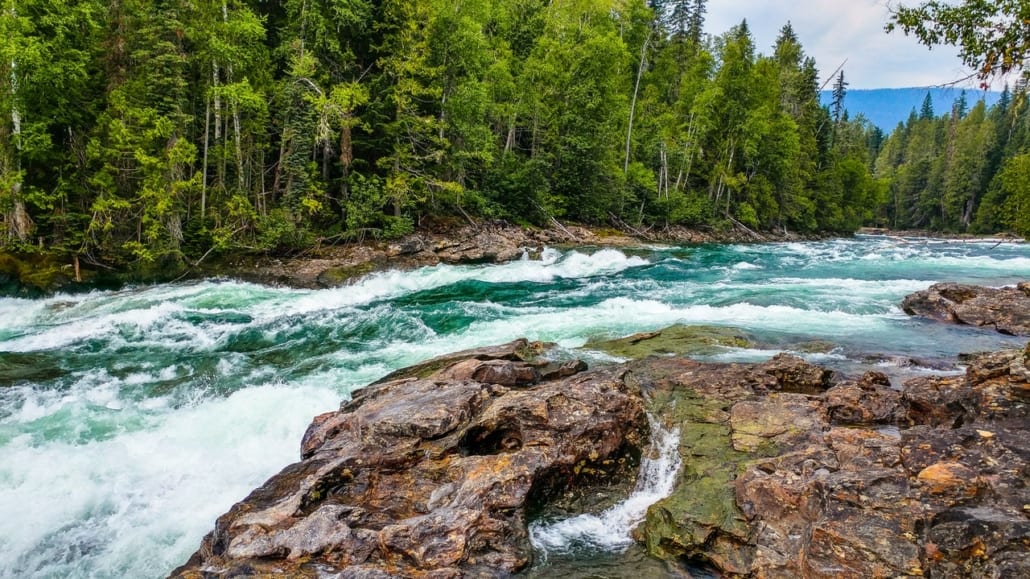
You may also need a quick-drying towel when you’re enjoying some water excursions during your world backpacking trip, such as exploring waterfalls or hidden natural pools.
Now that you have an idea of what to pack for your next adventure, you can stop stressing and start researching and planning some activities for your first backpacking travel adventure. Have fun out there!