Zero waste backpacking is surprisingly difficult. Between all the gear, packaged food, and on-the-go hydration needs, a typical backpacking trip can lead to a lot of plastic waste. It takes effort and planning to be zero-waste or ‘low-waste’, but I am here to tell you that it IS possible.
Coupling zero-waste with backpacking seemed like the last piece in my sustainability puzzle. Finally taking the plunge, and making the necessary changes, has left me feeling like I am actually protecting the very nature I am interacting with.
Eventually the changes became habits, and now Mother Nature is far better off for it. Here is my story and top tips for backpacking sustainably, let’s protect the very environments that we love to explore.
My Journey to a Zero-Waste Lifestyle
Four years ago, I found myself on the floor of my bedroom, staring at thirty-plus plastic bathroom products, having an epiphany that would change my life. This is the moment my zero-waste journey started.
As plastic lipsticks, toothbrushes, shampoos, conditioners, body soaps, razor blades, mascaras, combs, brushes, and more stared back at me, I realized I had a plastic problem. I realized our world had a plastic problem. Most of all, I realized that I needed to change the way I consumed products.
Over the next four years, I would learn how to buy food in bulk, how to refill my handsoaps, laundry, and dishwashing liquids. I would learn to carry a stainless-steel water bottle and reusable coffee mug with me everywhere I went.
Small changes over time have resulted in massive lifestyle shifts. Now, when my partner and I empty our one-foot-tall rubbish bucket every three weeks, we can truly see the impacts of our waste-reducing efforts.
My Big, Zero-Waste Backpacking Trip
Alongside my zero-waste pursuit, I was developing my outdoor skills. My first job outside of University was glacier guiding in Alaska. This role then carried me to New Zealand, to continue glacier guiding.
New Zealand is where I have lived for the last four years. This is where I would harness many outdoor-skills including ice climbing, mountaineering, rock climbing, canyoning, free-diving, marathon running, gardening, and more.
After spending years developing my backpacking, hiking, and camping skills, I decided to go for a long hike, a 272-mile-long hike, in fact, The Vermont Long Trail. The trail begins in Canada and hits every major peak of Vermont, winding through cute, maple-loving towns, before it terminates in Massachusetts.
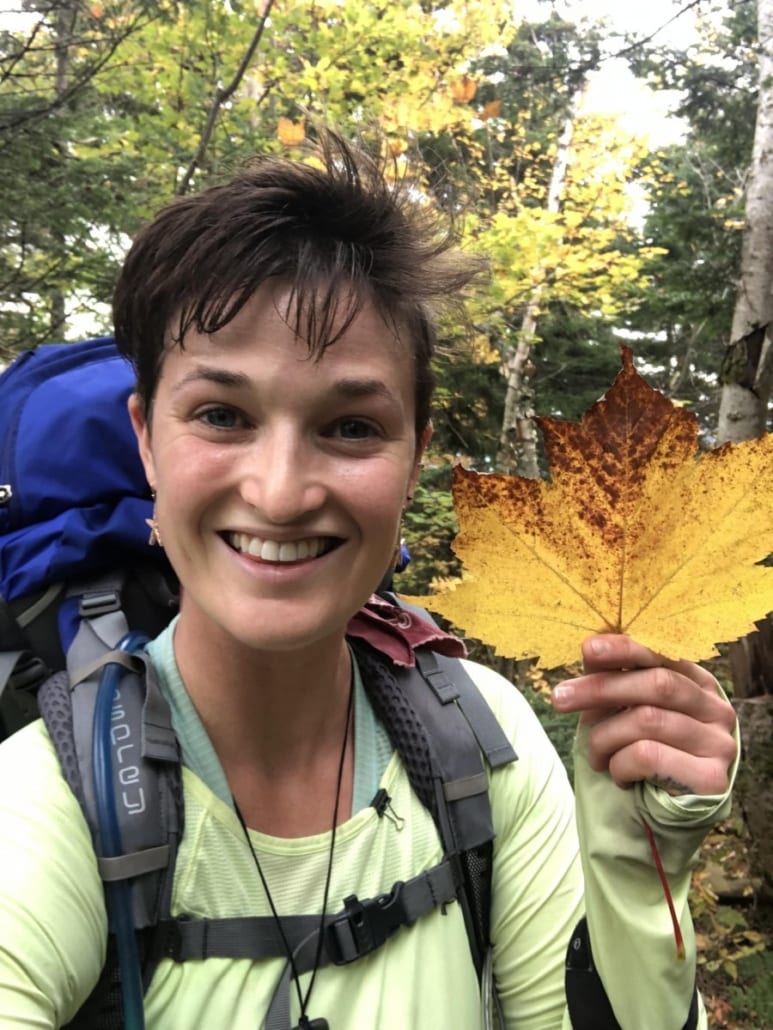
This hike would take me twenty days to complete and I would be hitting the trail solo. I felt a sense of nervousness, but excitement to be finally ticking off a long-time goal. I had graduated from the University of Vermont five years prior and had always intended to return and complete the trail.
So, there I was, ready to embark on a journey that had been a long-time coming. Yet, I found myself at the foot of the trail with a new goal, a goal to hike the trail in a sustainable way, in a zero-waste way.
The Challenges of Zero-Waste Backpacking
Before I go on, it is worth noting that zero waste, as in no waste what-so-ever, is completely unattainable. Rather, zero-waste is a “stretching goal”, a goal that allows for constant growth, the type of goal I love. “Low-waste” might be a better phrase.
Whichever term you prefer is fine, but just know that when I say I was doing the trail “zero-waste”, I mean that I was attempting to complete the trail with as little waste as possible. This goal would prove to be more difficult than finishing the 272-mile Long Trail itself.
As I began researching “zero-waste backpacking”, it became apparent that not many people were writing about the topic. This meant that I needed to figure out some stuff for myself.
The Long Trail went from being a zero-waste backpacking trip, to a trial-and-error trip. I was able to learn what worked and didn’t work, and along the way, I kept notes that I hoped to share with the world later.
Prior to setting this goal, I had never worried about my backpacking waste. I was so low waste in the rest of my life, that I allowed backpacking to be the “exception, not the rule.”
Backpacking is supposed to be fast and light, which often meant dehydrated, processed food, in non-recyclable packaging. It meant eating muesli bars and “treat-yo-self” style snacks. But now, I wanted to see if I could shift away from this wasteful lifestyle. I wanted to stop cutting myself slack. I wanted to see if I could make the change and still be fast and light.
The irony that I considered myself an environmentally-conscious person except when I was camping, hiking, or backpacking in nature, was not lost on me either.
In hindsight, it seems amazing I was consuming so much waste in the very environment I was trying to protect. I don’t think I am alone in this proclivity, which is why I am here to share my top seven tips for producing less waste while backpacking.
1. Dehydrate Your Own food
Dehydrating my own food is probably the most significant thing I did to keep my backpacking trip zero waste. It’s one of the best ways to build a sustainable backpacking food plan.
This was one hundred percent new to me, so there was a lot of reading and You-Tube video watching. Buying the ingredients, cooking them from scratch, and dehydrating them myself was both cheaper and healthier, it felt good knowing what was really in my food. These are two luxuries you don’t often get when you buy the packaged dehydrated meals.
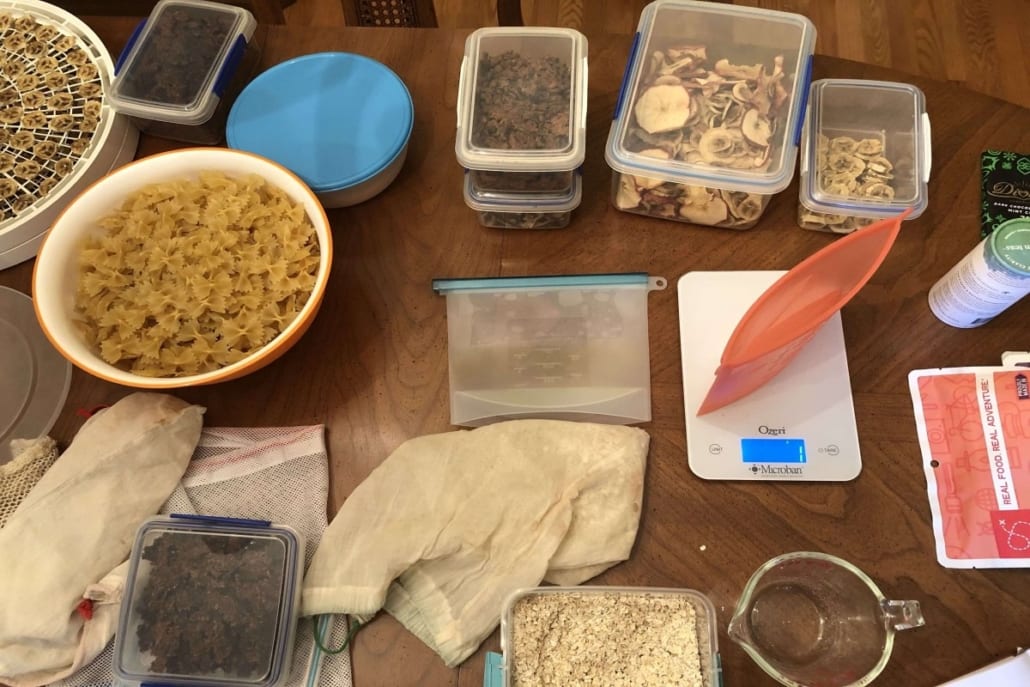
Dehydrating does take a very long time. Each session can take anywhere between six and twelve hours. Because of this, I was only able to prepare half of my meals and snacks for the trail this way.
I ended up with three vegan risotto’s, three vegan Bolognese, and four chili’s for dinner meals. I also dehydrated lots of fruit, like bananas, apples, pineapples, and strawberries.
2. Choose Sustainable Food Containers
It took a while to figure out how I could package the dehydrated meals. It was important to me to be as light as possible and to be able to seal hot water in the container, to rehydrate the food.
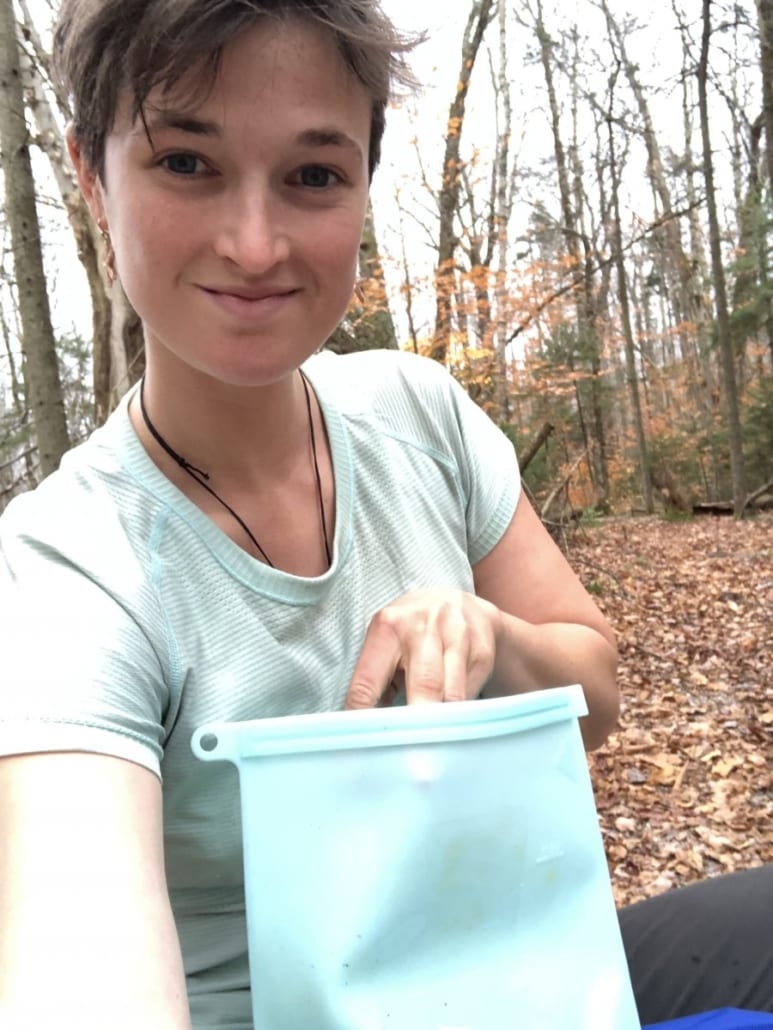
I landed on using silicone-resealable bags. Silicone is able to withstand extreme-heat, which meant I could pour boiling water directly inside of them to rehydrate the food.
The plus-side of using silicone bags was that I could re-use and keep them for the rest of my life. The disadvantage was that they were 3 ounces (100g) heavier than pre-packaged meals.
They seal nicely, but depending on how long your hike is, I think you could even get away with packaging the meals in cloth produce bags or paper bags instead. They could then be rehydrated in a covered pot.
3. Buy Supplies from Environmentally-Friendly Companies
Purely due to time constraints, I was only able to prepare half of my meals and snacks using the dehydration method. For the other half of my meals, I opted for packaged dehydrated meals.
However, instead of buying the cheapest brand on the market, I did my research and sought out one that was doing good things for the environment. The brand, “Good-to-Go”, is made by a chef and fellow backpacker in Maine. She uses whole foods and sources local ingredients as much as possible.
Although it was more expensive, I asked myself, “What is the true cost, if the cheaper options are worse for the environment?”. The answer was simple. I was happy to support this business.
4. Buy Snacks and Meals in Bulk
Most plastic produced while backpacking comes from our food, which is why the first few zero-waste backpacking tips are focused on sustainable backpacking food tips.
I was able to avoid a lot of plastic by buying food in bulk and storing it in cloth produce bags and brown paper bags. For breakfasts, I ate granola and oatmeal, and for lunch I had banana peanut butter wraps.
For snacks, I had a range: sour patch kids, chocolate-covered pretzels, trailmix, and date balls. All of these items, I bought in bulk.
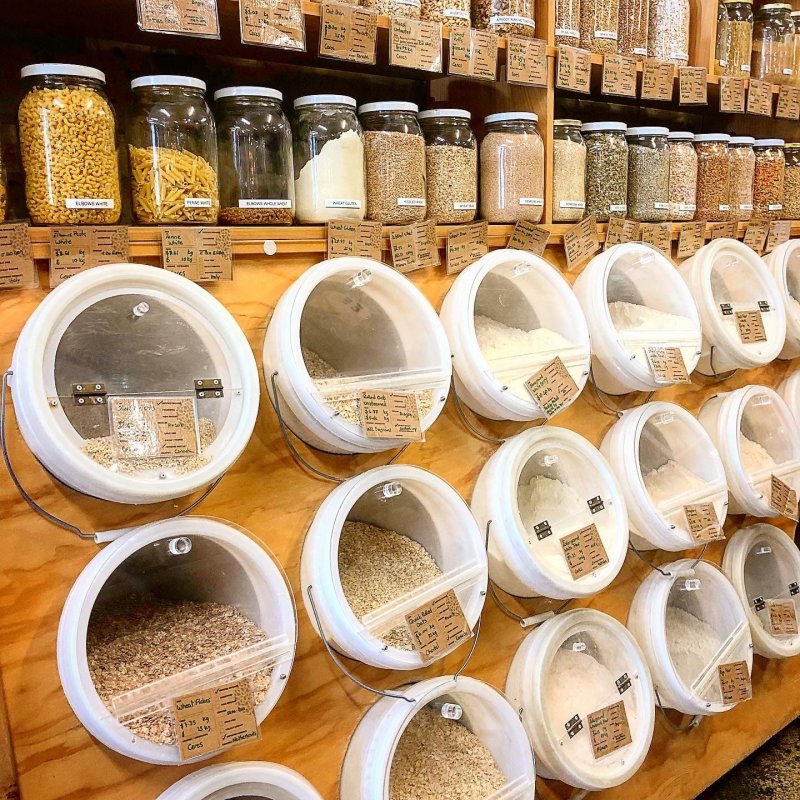
Before the hike, I was able to stock up for my first five days with these bulk items from Whole Foods. And yes, I was even able to get peanut butter in bulk. At Whole Foods, they offer “grind-your-own peanut butter.”
Luckily, backpacking in Vermont, a typically “green” state, I was able to re-stock my bulk snacks along the way at organic shops and grocery stores. I even got to refill my peanut butter at another “grind-your-own peanut butter” station in one of the organic shops, what a score!
It really is amazing how much plastic you can avoid if you take the time to look and think about your packaging. Eventually, it just becomes the norm.
5. Choose a Sustainable Water Bottle and Filter
Most people who are focused on ultralight backpacking buy plastic Smart Water bottles because they pair nicely with the Sawyer filter, making a lightweight combo-deal. But there are plenty of sustainable alternatives that will bring you closer to zero-waste backpacking.
I think you’ll find, a Platypus Bladder paired with a Steri-pen Filter results in only a 4-ounce difference, and is faster, more reliable, and better for the environment.
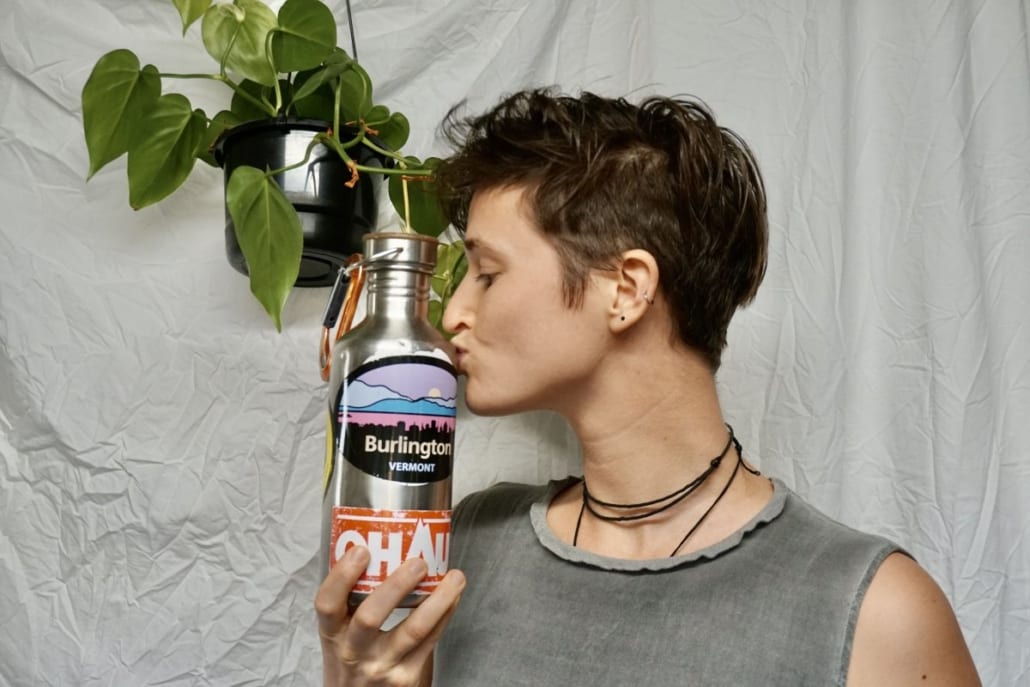
A stainless-steel bottle is a great way to avoid buying those cheap plastic “Smart Waters”. A stainless-steel bottle will not only avoid microplastics leaching into the environment, but unlike plastic water bottles, they are truly recyclable once you are done using them.
The topic of hydration on the trail is hotly debated within the backpacking community, so read more in my full review of the most sustainable water set-up on the trail.
6. Switch to a Bamboo Toothbrush
This one doesn’t need much explanation. Switching to a bamboo toothbrush far more environmentally friendly than using a plastic toothbrush. You can still cut it down to size, if you are looking to save weight too. These can be easily found online and in stores.
7. Always Use Matches over Lighters
Matches are made of wood and come in cardboard boxes, making them environmentally friendly. They will break-down after use and will not pollute the environment. Lighters, on the other hand, litter coastlines.
Birds, especially albatrosses, consume them thinking they are food and eventually die to too much plastic consumption. Like the toothbrush, this is a very easy switch. The only challenge that comes with using matches is keeping them waterproof, but that is entirely manageable. Another good option could be a refillable zippo. Just ditch those plastic lighters!