Snow-capped mountains, coniferous forests, and gently frosted streams – a winter hike is one of the best ways to catch the beauty of the winter landscape. It also presents a challenging and rewarding outdoor activity for you to go solo or with friends.
All hikes need to be prepared for in a way that ensures safety and comfort – but none more so than those attempted in winter. As you’ll learn, the season presents greater challenges than just keeping out of the cold.
In this article, we’ll look at what to wear for winter hiking, what gear you should be using, and some tips to retain that ever-important heat in the frigid winter months. With the right equipment, you’ll be able to get the most out of these affirming, exciting outdoor experiences.
What Are The Perfect Clothes For Winter Hiking?
We’re going for a comprehensive guide to what to wear for your winter hiking outfit, so let’s start the top down. As a general rule – warmth is the name of the game, but it’s not the only metric to consider when finding the perfect set of clothes for winter hiking. As we discuss each garment, we’ll be assessing its benefits and potential flaws.
What Hat Should I Wear For Winter Hiking?
Starting off on our list of cold weather hiking clothes – the hat. It’s often said that we lose most of our heat through our heads – this isn’t strictly true – but a sensible piece of headwear is a vital part of what to wear for winter hiking.
As with all items on our list, a good hat isn’t just about providing warmth but comfort as well. Think of how the tops of your ears feel when exposed to the cold wind – it stings, doesn’t it. That’s because your ears aren’t particularly fatty, and therefore aren’t as well insulated. It can be a shock to all those tiny blood vessels.
You can make up for this with a piece of headwear that covers them, such as a beanie. Polyester blends are popular, and typically more affordable than other materials. Wool offers the highest amount of heat retention at the lowest weight – but may not be waterproof, something you’ll come to value as all that snow settles on your head. This is where acrylic knit beanies come in handy, and they often include a microfleece interior to retain that level of warmth.
Whatever material you choose, you can go out into the snow in style – their popularity and versatility mean that many brands offer warm beanies that are the height of winter hiking fashion. To summarize:
- Look for something that covers the tops of your ears, like a beanie or other wooly hat.
- Choose a material that is waterproof, but still warm, such as acrylic knit with a fleecy interior.
- Go for something that’s lightweight and unobtrusive.
And what do those little bobbles do, you might be wondering? Nothing – they were once used to denote ranks and status but are now just a cheerful remnant of winters passed.
What Jacket Should I Wear For My Snow Hiking Outfit?
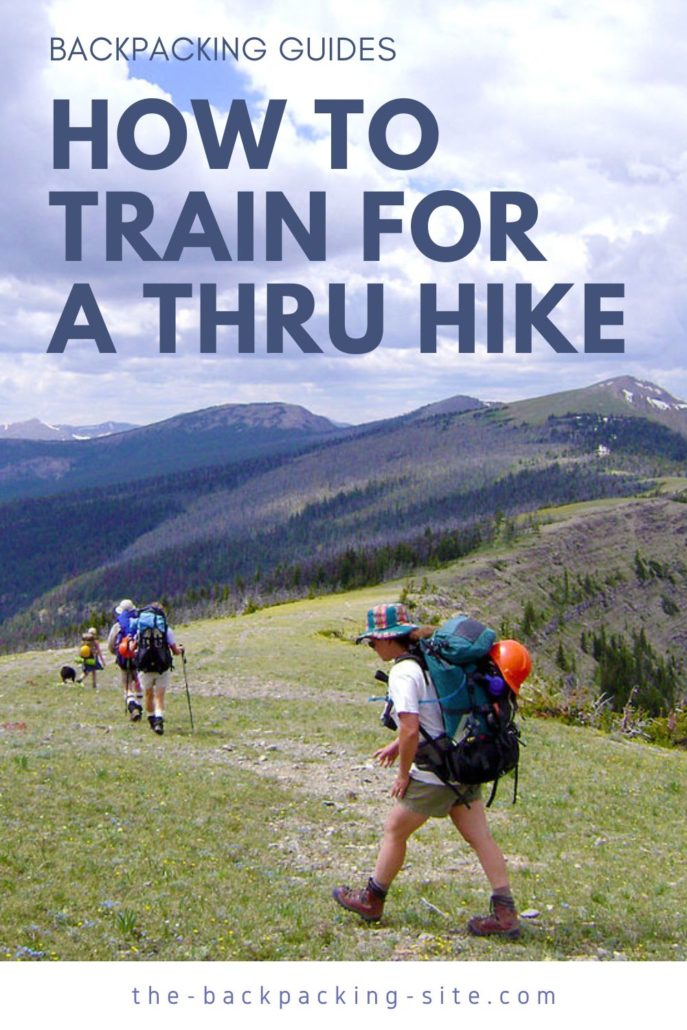
In snowy conditions it’s essential to have the right hiking attire
Once again, as is the general rule for a snow hiking outfit, warm and waterproof is the key. Puffy jackets do this best, and synthetic insulation is a popular option for its water-resistant qualities.
Traditional down insulation, while made from fluffy feathers that trap air to retain heat, becomes heavy and virtually useless once damp. For a dry cold weather hike, this may be your preferred option – it’s also far lighter, but if you’re entering areas with expected snowfall, the bulkier synthetic insulation is a better bet.
Regardless, in very cold climates make sure you have something that covers the torso and arms. Bodywarmers are a popular choice for what to wear for winter hiking – flexible and covering the vital chest area – but naturally provide less coverage.
Go for a tall collar that extends over the neck (this is fairly standard for most outdoor jackets) in order to protect that area as well.
Hikers may consider a scarf over the top of a looser fitting jacket to keep the collar tightly pressed to the neck stopping cold air from entering, but this may restrict movement and provide unnecessary bulk.
A good quality, well-insulated, waterproof, form-fitting jacket covers all the basics.
What Gloves Should I Wear When Winter Hiking?
While other areas are vital for retaining heat, the extremities are the most receptacle to the effects of cold, including the nasty and devastating effects of frostbite.
You’re going to be weighing up protection and dexterity here – you’ll want to wear something that offers plenty of heat, but you’re also probably looking to use most of your equipment with your gloves on, potentially even those finicky GPS screens. Mittens, while certainly warm, are probably not the best things to wear for winter hiking.
We can’t stress enough that in snowy or wet environments – make sure your gloves are waterproof. The last thing anyone needs after potentially falling in deep snow is cold hands and gloves that won’t dry out – in fact, we would advise bringing a spare pair in any situation. Windproof and waterproof qualities are an absolute must, despite how bulky they can be, and make sure they stretch over the wrists to stop snow and other elements from getting in.
What Trousers Should I Wear When Winter Hiking?
Any warm, water-repellent trousers will suit your hiking needs. Synthetic fiber is a popular material that suits these requirements – look for a stretchy fabric with breathable qualities for maximum comfort, and make sure that the fit is just right. You’ll need those stretchy qualities for better flexibility and demanding uphill walking.
If you’re wondering what boots to wear – we’ll move on to that in our next section.
What Gear Should I Bring With Me on a Winter Hike?
As vital as the right set of clothes – you’ll want a good set of boots and kit to take with you on a winter hike. Here’s some essential gear for hiking in the snow.
Boots
Your gear for hiking in the snow starts with a good pair of winter hiking boots. The ideal pair guarantees warmth, durability, and that all-important fit. Here are some factors you’ll want to consider for optimum functionality, and comfort.
- Weight – the overall weight of the boot, including the weight of the insulation.
- Shaft height – how high your boots rise up towards the leg.
- Warmth – how good they are at retaining heat.
Waterproofing is a must regardless of whatever boot you’re going for – but there are costs and benefits to these other factors, and should be selected based on the kind of hike you’re intending on.
In terms of weight, think about how long you’ll be hiking. Heavier boots may cause a strain on your feet and your overall energy levels on longer excursions.
Shaft height depends on the kind of terrain you’re getting into. A high shaft is best in thick snow or potential water crossings, as it will reduce the chance of these frigid, uncomfortable elements entering at the top of the boot – this will however add an unfortunate bulk that can be more restrictive to your movements.
For warmth, boots are generally given a temperature rating to inform the consumer about the level of cold they can withstand, so consider what kind of climate and how much the temperature may drop in the area you’re going to be hiking in before you purchase.
In terms of fit, remember that you’ll likely be wearing thick socks, so make sure you wear these while trying your boots on. And don’t forget to give them a test run before purchase, including on different inclines, to ensure that they don’t slip.
Microspikes
In areas with frequently frozen surfaces – hiking microspikes are essential gear for winter hiking. These are devices consisting of a series of spikes and chains that can be tethered to the sole of the boot, digging into the ice and preventing slippage. They’ll also increase the surface area of your foot stopping you from sinking even deeper into the snow.
Other Equipment
- A waterproof, lightweight backpack to carry all your equipment in – including that extra pair of gloves.
- Sunglasses are always helpful in providing better visibility against the bright winter sun.
- A sturdy pair of poles to help keep you steady and upright when hiking.
- A buff to wrap around the neck and cover the lower face for comfort and heat.
- An emergency bag and head torch for safety.
Tips for Staying Warm
Now that we’ve covered what to wear for winter hiking – here are a few ways to keep warm that’ll prove invaluable in a challenging winter hike.
- Keep snow and water out however you can. This doesn’t just mean buying waterproof clothes – make sure your gloves are wrapped tightly around your wrists, and consider whether your boots can deal with the depth of whatever snow or water is ahead. These elements will result in dampness, and your gloves and socks will take a long and potentially dangerous amount of time to dry.
- Think about your layers. A great jacket is essential – but layering up underneath will help to trap air and insulate your body. Thermals for both your torso, sleeves, and legs can be vital in those seriously cold climates.
- Pack a hot drink. It’ll not only warm you up but keep you hydrated and energized on longer hikes.
- Plan! Consider the climate of the area you’re hiking in. Consult local guides, other hikers, or the internet for information. And don’t forget to check the weather forecast!
See outdooradept.com for more outdoor & hiking hacks and guides.