Tag Archive for: gear

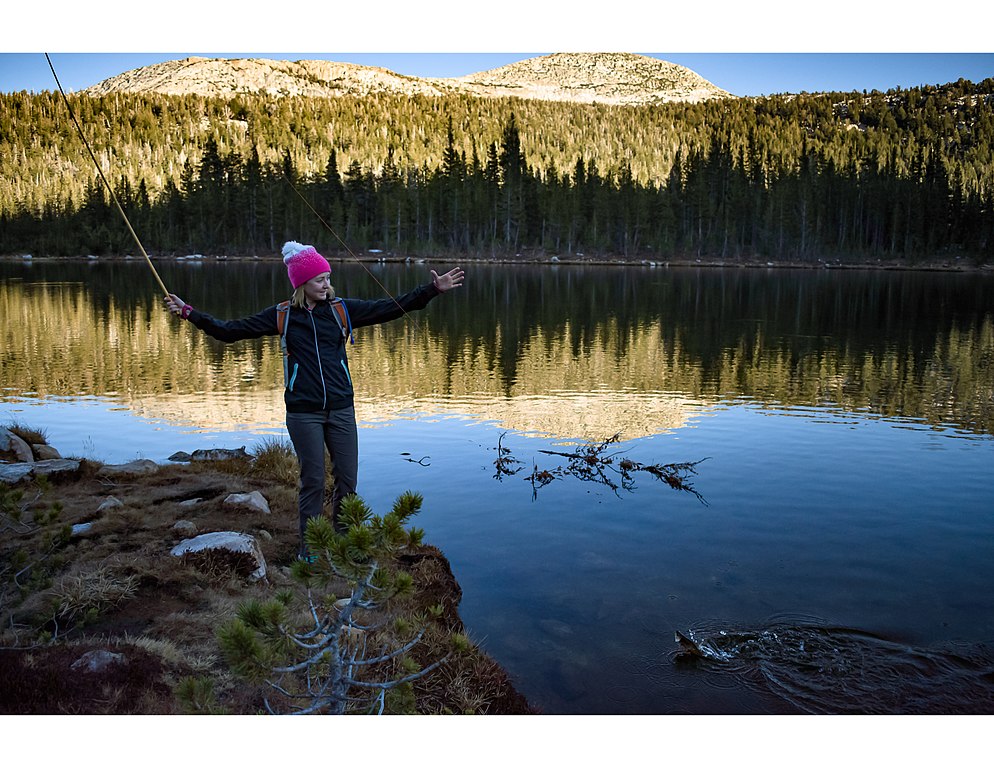
If hiking through the wilderness is at the top of your bucket list, you’re not alone. The beautiful scenery, epic trails, and campsites, and experiences of a lifetime make backcountry backpacking a major goal for any outdoor enthusiast. 

But, there’s a reason the idea stays on bucket lists and doesn’t get crossed off as often as other items. 

Backcountry backpacking can be dangerous, especially if you don’t take the proper precautions. If you’re a frequent backpacker, you already know some of the common injuries that can occur while hiking. But, you’re putting yourself at risk for things greater than blisters and scrapes when you’re exploring mostly-uncharted terrain. 

Still, if heading into the backcountry is a goal of yours, there’s no reason you can’t reach it with a little preparedness. Use the following safety tips and ideas as your ultimate guide to backpacking safely while in the backcountry. 

Plan Ahead

Perhaps the most important safety tip before you head out on your backcountry backpacking trip is to plan ahead as much as possible. That starts by making sure you pack the right essentials, including: 

You don’t want to overload your bag so it weighs you down. But, you’ll be happy to have these essentials on hand in case of an emergency, or just at the end of a long day on the trail. 

In addition to packing for your trip, you can also plan ahead by telling someone where you’re going. This should be typical standard practice even on shorter trips. But, it’s an especially important safety tip for more dangerous backpacking treks in the backcountry.

Let someone know exactly where you’ll be and when you’ll be there. If anything were to happen and people needed to look for you, they would have a better idea of where to find you quickly. 

Finally, prepare yourself by researching the weather and local terrain. What does the forecast look like for your trip? Knowing ahead of time will make it easier to make efficient packing decisions. 
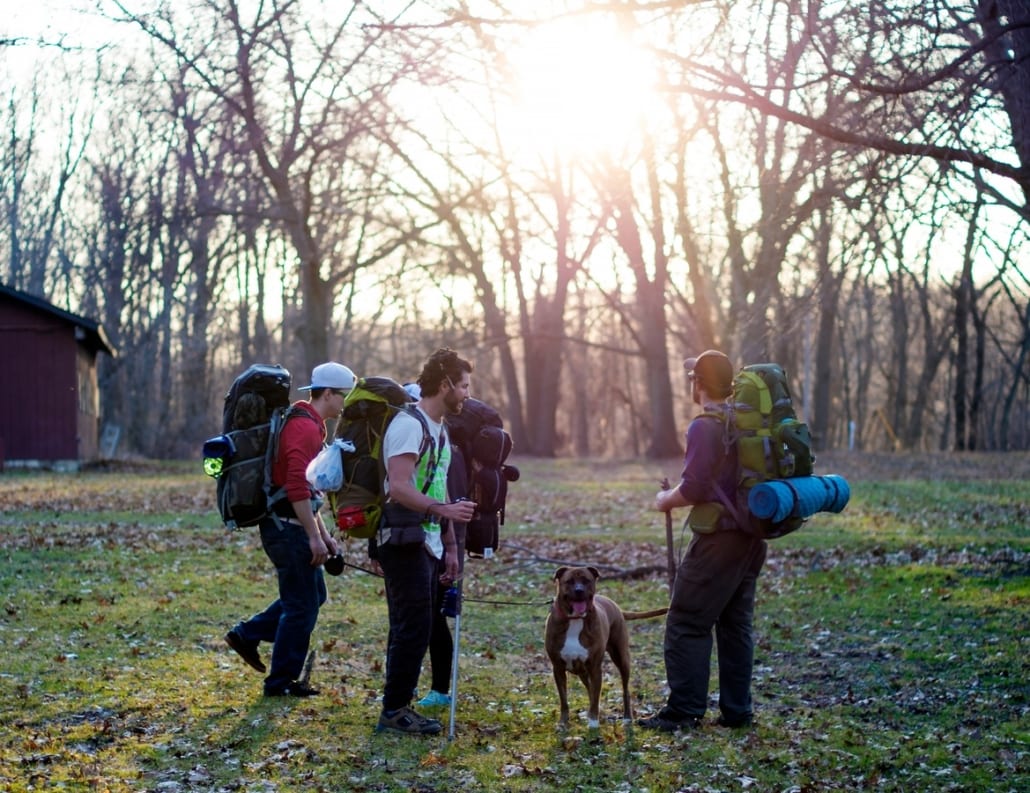
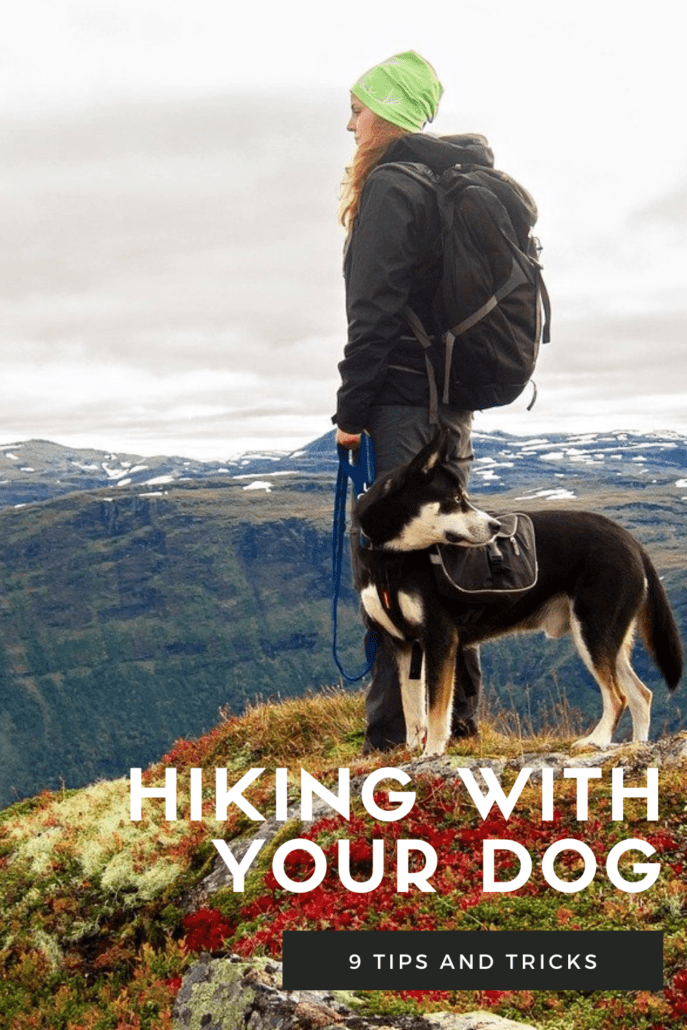
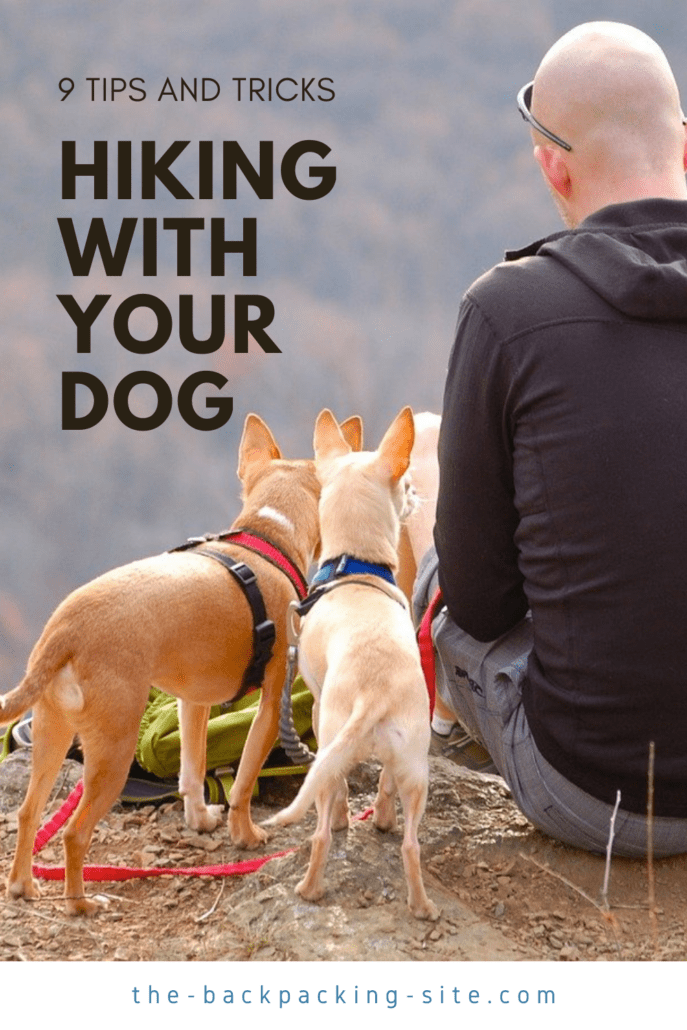
Have Support

Bring your dog along when Backcountry Backpacking

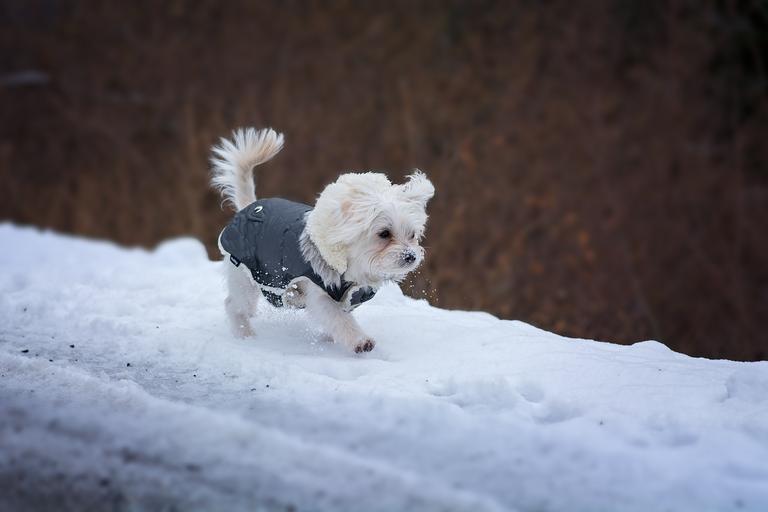
Your dog can be a welcome companion when backcountry backpacking

Backpacking is a great way to find yourself and take advantage of some peace and quiet in an overly busy world. But, when you’re tackling rough terrain, having some kind of support system is important.

That doesn’t necessarily mean you have to travel with family or friends. But, you might consider bringing your canine companion along with you. 

Dogs should always be trained if you’re considering taking them along for your trek. You can train them yourself, hire a trainer, or go for a really thorough option by signing them up for a board-and-train program.

Once they learn to listen and obey basic commands on the trail, going backcountry backpacking with your dog can actually benefit your experience. They will offer a source of companionship and motivation as well as protection. 

Keep in mind that there are extra things you’ll need to bring if you backpack with your dog. You might even consider getting them their own little harness pack to keep things like food, treats, water, and waste bags. 

Another safety tip for backcountry backpacking is to keep your phone with you to make sure you have support on your adventure. It might go against any “off the grid” ideas you have.

But, keeping your phone charged and with you at all times will give you a way to call for help, if needed. It will also give you a way to connect with people back home if you’re struggling to stay motivated or you’re dealing with loneliness.

Having a support system, whether they’re right next to you in the form of a furry friend, or a thousand miles away, can make a big difference. 

Expect the Unexpected

Planning and preparing will always be important when you’re heading out on a backpacking excursion. But, no matter how well-prepared you are, you can’t predict everything that will happen on the trail. You might run into things like: 

  • Unexpected bad weather
  • Changes to the land due to erosion 
  • Wild animals that could be threatening
  • Malfunctioning equipment

There are things you can do to better prepare yourself for some of these situations. For example, one important safety tip for backcountry backpacking is to prepare to protect yourself from the threat of dangerous animals by carrying a firearm.

Whether you’re by yourself or hiking with your kids, make sure you know how to properly store your gun, and that you’ve received firearm training before using it. 

For other unexpected situations, you have to be willing to think on your feet. Backpacking in the backcountry takes more than strength and stamina – it takes a sharp mind.

Some of the best survivalists in the world are only able to do what they do because of their outdoor knowledge and willingness to think outside the box. 

If you’re ready to cross backcountry backpacking off your bucket list, there’s no better time to do it. But, keep these safety tips in mind to make sure it’s a positive experience that you’ll feel confident about every step of the way. 

If you are interested in fishing and backpacking, why not combine your two passions? Since backpacking requires you to keep your pack weight low, there is some basic lightweight equipment you’ll need if you want to go fishing this season. Check out the details about backpacking fishing rods and then make a perfect lightweight backpacking fishing kit for yourself.

What Is Lightweight Backpacking Fishing Gear?

If you’re going backpacking near a lake or river, you may want the option to go fishing along the way. Whether you want to go fishing out of sheer enjoyment, or you want the opportunity to catch your dinner as you go, you will want to bring along some lightweight backpacking fishing gear.

In your backpacking fishing kit, there is a lot of different gear that you can find, making fishing while backpacking on the trail easier than before.

Especially when backpacking, you’ll want gear that is lightweight or ultralight, as it is easy to carry and versatile too. If you’re just getting started in your research about gear, check out the details about lightweight backpacking fishing rods.

Types of Lightweight Backpacking Fishing Rods

Nowadays, there is a large variety of lightweight backpacking fishing rods available. There are various different styles of fishing rods that you can choose for your backpacking trip. You just need to know about the types of gear so that you can buy according to your need. So, let’s see what the types are.

Backpacking Tenkara Rods

Brook trout caught on a Tenkara fishing rod

Brook trout caught on a Tenkara fishing rod

The Tenkara fishing rod is the most popular option for a backpacking fishing rod because of its simplicity and minimal weight. This relatively new style of fishing has its roots in ancient Japanese fishing techniques, and it is a quick set up with minimal practice or specialized skills required.

The rod is completely collapsible and the line has a fixed length. There is not an expensive and tricky reel to deal with. The best Tenkara rod that we have come across is the DRAGONtail Shadowfire 365 Tenkara Fly Fishing Rod.

The best Tenkara backpacking rods are useful because they are so lightweight and compact, making it easy to pack and carry the rod. That said, there are several pros and cons to the Tenkara rods.

Pros

  • Lightweight product
  • Simple design
  • Protective rod

Cons

  • Similar Technique as the fly rods
  • Location and target of fish species are limited

Pocket Fishing Rods

Pocket sized fishing rods

A pocket fishing rod is similar to a traditional fishing rod and reel

A pocket fishing rod is similar in style to a traditional fishing rod and reel. The main difference is that it is a collapsible pocket fishing rod is compact and lightweight, so that you can carry it easily in your backpack.

You also have the option of attaching higher end reels to the collapsible rod, if you are used to more traditional and sophisticated fishing techniques.

As the size is small, it’s easy and comfortable to use while backpacking. However, there are a lot of variants available. You can find it in different sizes, qualities and even in price so, do some research to choose the best fishing rod for backpacking. This option comes with a convenient carrying case to protect it even when it’s buried in your backpack.

Pros

  • As it is small in size, you can pack it easily
  • The casting technique with a traditional rod and reel is easier to master than fly fishing techniques

Cons

  • Pocket rods are heavier than Tenkara fly fishing rods

Travel Fly Fishing Rods

A collapsible fly fishing rod is perhaps the most popular option for a backpacking fishing rod. Like the Tenkara rods, fly fishing rods are a lightweight option to carry in your pack.

The rods are like simple long fishing rods that can be used easily for fishing. This option comes with a travel pack, as well as bait, line, and small tools you might need when fly fishing.

You need a little bit of practice to make fly fishing work for you. Your goal should be to make the bait look like a fly or insect as it lands on the surface of the water. Once you master the technique, you can catch fish quite easily.

Pros

  • The tackle and fly fishing gear is lightweight
  • The rod is small in size
  • Most backpacking areas are great as a target for fly fishing
  • You can use the fly rods in both lakes and streams

Cons

  • It takes a lot of effort to master the technique
  • Fly fishing needs to have an open space to cast

Where do you catch fish while backpacking?

The beauty of backpacking is that you are often able to find remote spots to catch fish. Small lakes or ponds are the most popular place that people go fishing. Besides that, rivers or creeks are also good places for fishing. Be sure to research whether a fishing license is required for your location.

What are the things you need to make a lightweight backpacking fishing kit?

Assembling your fishing kit is the hardest part of all. You need to get all the backpacking fishing gear together and place it in the right place within your pack.

Also, you must know what things you will need in your lightweight backpacking fishing kit. If you are a beginner, the advice we would like to give you is to think about what elements you will need while fishing.

Let’s talk about the basic things.

Choosing Fishing Line: First thing you need to do is to match your fly line to the rod that you are going to cast. Fly fishing line is very different from the fishing line used on a reel.

Choose your Rod and Reel: You must take a good quality rod and reel so that you can make a good setup. And to select the proper ones, you should check what type of fish you want to catch and what the location would be. Weight is also a matter here.

Choosing Lures: You must choose a few lures so that you can make them simple and easy to understand. Again, lures for fly fishing are different than lures used on a fishing reel. There is also some other equipment that you can add as bait:

Fly Fishing Lures for Trout

  • Adams flies
    • Fishing Technique: Fly fishing
    • Ecosystem: Lakes, streams, rivers
    • Species: Best for Rainbow Trout
    • Rated 5/5 on Amazon
  • Nymphs
    • Fishing Technique: Fly fishing
    • Ecosystem: Lakes, streams, rivers
    • Species: Brown or Rainbow Trout
    • Rated 4.5/5 on Amazon
  • Caddis flies
    • Fishing Technique: Fly fishing
    • Ecosystem: Lakes, streams, rivers
    • Species: Brown or Rainbow Trout
    • Rated 4.5/5 on Amazon

Rod and Reel Lures for other species like Bass, Pike, and more

  • Wooly buggers
    • Fishing Technique: Rod and reel
    • Ecosystem: Ponds, lakes, rivers, streams
    • Species: Bass love them
    • Rated 4.5/5 on Amazon
  • Senko worms
    • Fishing Technique: Rod and reel
    • Ecosystem: Ponds, lakes, used in shallow areas with targets like docks, brush, etc.
    • Species: Bass, Pike, Walleye
    • Rated 4.5/5 on Amazon

What Is The Best Ultralight Backpacking Fishing Gear?

The best backpacking fishing gear

If you are just getting started, you can try getting a fishing kit which, will come with the rod, reel, line, and any lures you might need. Here are two good options:

If you are looking to assemble your own backpacking fishing kit, you can explore a wealth of options, which we’ve outlined below.

The Best Collapsible Backpacking Fishing Rods

  1. Goture Travel Fishing Rods 4Pcs – Casting/Spinning Rod with a case
    • Rated 4.5/5 on Amazon
    • $50
  2. CAPACI Portable Travel Casting Spinning Bass Fishing Rods
    • 4.8 oz.
    • Rated 4/5 on Amazon
    • $30
  3. Sougayilang Speed Bass Fishing Rods
    • 6.38 oz.
    • Rated 3.5/5 on Amazon
    • $37

The Best Lightweight Backpacking Fishing Rods

Some companies are focused on making the lightest-weight fishing rods. Here are some options:

  1. OKUMA Celilo Ultralight Graphite Lightweight Trout Rods
    • Rated 4.5/5 on Amazon
    • $27
  2. Berkley Lightning Trout Rod – Ultralight
    • Rated 4.5/5 on Amazon
    • $38
  3. Fenwicks Eagle Spinning Rod
    • 4.8 oz.
    • Rated 4.5/5 on Amazon
    • $50-100
  4. Shakespeare Micro Ultralight Spinning Rod
    • 3.88 oz.
    • Rated 4/5 on Amazon
    • $17-35

The best fishing reels for backpacking

There are some good fishing gear companies such as:

  1. Penn Battle III Spinning Reel
  2. Zebco Platinum Spincast 33 Reel
    • Rated 4.5/5 on Amazon
    • $41
  3. 13 Fishing Concept Z Slide Baitcast Reels
  4. Shimano Vanford F Spinning Reel
    • Rated 4.5/5 on Amazon
    • $230

The summer is upon us, which means fun in the sun and amazing hiking and backpacking adventures across gorgeous landscapes. While we love to enjoy the warmer months, caution is of absolute importance.

Currently, heat waves are occurring across the globe, with record-breaking temperatures of over 100 degrees becoming the norm.

Excessive heat can be one of the most dangerous elements you can face, and prolonged exposure may lead to many dangerous conditions that could make you very ill.

That is why you need to be smart about summer backpacking and pack the right items before going out on long treks. Here are some pointers to stay cool while backpacking in hot weather.

Heat Concerns for Summer Backpacking

The first step to staying safe when backpacking during summer is to understand the potential risks of being out in the heat so you know when you need to take a break or hydrate.

Heat exhaustion is the main concern that you want to avoid because, if not properly handled, it can quickly turn to heatstroke, which could create disorientation, confusion, and a high fever that could lead to further sickness.

The symptoms of heat exhaustion include nausea, excessive sweating, and a headache that gets progressively worse. If you feel these symptoms, it is important to find shade, then sit down and relax and drink water until you are feeling better.

On that note, you also want to watch for the signs of dehydration, which also include fatigue along with a dry mouth and dark-colored urine. If you don’t drink water when these issues begin, it could start to affect your blood pressure and you could become too tired to continue.

Along with the issues associated with activity on a hot day, you also want to avoid a sunburn whenever possible. More than just giving you a little color, an excessive sunburn can cause blisters and swelling and can even lead to chills and nausea.

To avoid sunburn, apply sunscreen with at least an SPF of 30 before you leave to protect against the sun and dangerous UVB rays.

What to Bring To Stay Cool While Backpacking in Summer

When preparing for your adventure, it is essential that you take the time to create a packing list of everything you need, with an emphasis on first aid supplies and tools that will keep you cool while hiking or backpacking in summer.

The most important items involve hydration and that means bringing plenty of water you should drink during the course of your adventure. Moderation is key, as drinking too much can actually lead to over hydration, which can result in fatigue and cramps as your blood cells are so inundated that they lose functionality.

If water is too plain for you, then at least bring hydration packets that contain electrolytes as they replenish some of the fluid and minerals in your body that you lose when you sweat.

There are smart ways you can ensure that you have the water supply required for the hottest days. One idea is to get a hydration pack which is either part of your backpack or a separate entity that houses an extra water supply.

That way, you won’t have to hold it in your hands and it can balance your weight as you walk. If you want the water to remain cold, then freeze a water bottle the night before and it will last longer during your hike.

If you plan to camp during your summer backpacking adventure, then you will want to find a tent that will keep you as cool as possible. That means finding one that is a light color as it will reflect the heat.

Dark fabric will absorb the heat and make the interior warmer. A lightweight model like this heat-blocking tent has a mesh interior so you can allow a nice breeze to enter. Set the tent up in the shade and open the vents so the air can flow through.

Backpacking in Hot Weather? Plan Accordingly

In addition to packing the right equipment, you will also want to take the time to plan your hike accordingly, so you can avoid the warmest parts of the day.

Generally, it is hottest between the hours of noon and three in the afternoon, so you either want to return home by that time or wait to take a night hike as the sun is setting.

Early morning hikes are ideal because the sun will be rising, it won’t be too warm, and you will generally have the trail to yourself. If you are planning on an early morning hike then you will want to ensure that you get enough sleep, so you can have the energy required to climb those peaks and observe the beauty of nature.

One way to make sure you get enough rest is to use a sleep calculator, which will tell you when to lay down so you can get the 7 to 9 hours of shut-eye that the doctors recommend.

It is also a smart idea to plan the clothes you will wear during the hike, as what you choose could drastically change how warm you get during your adventure. Just like with your tent, you want to choose lighter-colored clothing that will reflect the light instead of absorbing it.

Also, opt for loose-fitting clothing, and if you can find hiking apparel with vents, then that is the best option. If you have especially sensitive skin, then make sure to wear pants and long-sleeved shirts so your arms and legs aren’t hit with those harmful UV rays.


There is nothing more exciting than celebrating the bright summer months with an exciting hike, but caution must always be present. Try the tips above to stay cool while hiking and enjoy your summer backpacking adventure without worry.

Whether you’re packing for a week, a month or a year, deciding what to take can be challenging. If you’re like most people, you always overpack, thinking you want to make sure you have absolutely everything you could need.

Even so, you land at your destination, only to discover you’ve forgotten something important.

Believe it or not, there is little difference in how much and what you pack for a short trip versus a long one. The trick is to create a list of the essentials and stick to it when you pack, eliminating what you don’t need for your current destination but taking care not to add much, if anything, not on your list. This complete packing list for female travelers saves you a lot of hassle trying to figure out what to take along on your next trip.

Choosing the Right Luggage

The Complete Packing List for Female Travelers

Assemble the right packing list so you can really enjoy your trip

Your first consideration is what to pack all of your gear in. There are two primary options: a suitcase or a backpack. For short trips to a single destination, a suitcase works great.

Make sure you get one that has wheels and an adjustable handle. A four-wheeled suitcase is easier to manage and better for your body. It’s designed so that you can move it along next to you rather than dragging it behind you.

For longer journeys, especially if you expect to move from place to place or take public transport through towns, a backpack is the better way to go. It is much easier to get around when you can carry your stuff on your back.

If you get one that fits right and pack well, the weight is distributed across your shoulders, back and hips evenly, which is better for your body. Look for a backpack designed for women and ask a salesperson to fit it for you. If you’re looking for a carry-on sized backpacking the Osprey Fairview 40L is a favorite. If you’re taking a longer trip, go with the Osprey Ariel 65 Liter backpack.

Make sure you have a daypack as well. This is handy for carrying what you need with you on the plane, but it is also invaluable when you’re out exploring. It’s better than carrying a purse, and you can safely store everything from a jacket to a water bottle.

Clothing Packing List for Female Travelers

Deciding on what clothing to take can be tricky, depending on where you’re going. It’s easy to start stuffing everything you own in your bag to make sure you’re prepared for every occasion. Far better, however, to take a versatile wardrobe, with plenty of mix-and-match options.

If you pack extra of anything, make it your underwear. Take enough for a week and a day. If your trip is more than a week, then having eight pairs will save you from handwashing or laundering your underwear as often. They’re small enough that you can splurge on taking more. The remaining clothing you pack will depend on the climate you’re visiting.

Warm Weather Clothing

The Complete Packing List for Female Travelers

Packing light is easy when you’re packing for warm weather

If you’re heading somewhere warm, you can pack really light. Avoid all cotton clothing, as it soaks up sweat and takes forever to dry. If you stick with mostly solids, you’ll find it easier to mix and match. Here’s an idea of what you should take for hot environments:

  • Five quick-dry tank tops or T-shirts
  • Three pairs of quick-dry shorts
  • Two dresses or skirts
  • One or two leggings or lightweight, long pants
  • One or two things you can sleep in
  • A swimsuit, if you plan to be near water
  • Two sports bras and two bras
  • A pair of hiking shoes
  • Sandals
  • Two to four pairs of socks
  • A hat with a brim to shield your face from the sun
  • A sarong or light jacket for unexpectedly cool evenings

With this list, you’ll have plenty of options for outfits for just about any activity.

Temperate Weather Clothing

When you’re headed to a place that has more variable weather, you need to adapt your clothing to suit the environment. Layering is great in these areas and saves you extra packing. You can simply add and shed layers as you need them.

Keep the number of tank tops or T-shirts the same and add three long-sleeve shirts you can wear over them. Reduce your shorts to two and add in three pairs of pants. Leggings go great under dresses, so feel free to include one or two of both.

You may also want to include a pair of boots or closed-toed shoes. Make sure you take a water-resistant jacket.

Cold Weather Clothing

If you’re heading for colder climates, you’ll want to ditch the T-shirts and shorts, replacing them with long-sleeved shirts. Take along a couple of thermal shirts or sweaters, a sweater dress, three pairs of lined leggings and a pair of pants or two.

Make sure you have a week’s worth of warm socks and comfortable boots for walking and hiking. You’ll also need a warm coat — down works great because it compresses — a warm hat, scarf and gloves. Don’t forget to include prescription safety glasses if you’ll be engaging in outdoor activities where you need eye protection.

What Toiletries To Pack

Packing toiletries can take a lot of space up in your pack and add a surprising amount of weight. Unless you want to purchase everything at your destination (not advisable), you have to figure out what to take. Opt for trial sizes on shorter trips. A basic toiletry travel list includes:

  • A toiletry bag that you can hang
  • A razor with extra blades
  • Shampoo and conditioner
  • Facial cleanser and moisturizer
  • Body wash or bar soap
  • Toothbrush, toothpaste and dental floss
  • Deodorant
  • Sunscreen
  • Tweezers and nail clippers
  • Tampons
  • Travel first aid kit

If you wear makeup, take the bare minimum you can live with. If you run out of anything, it generally isn’t difficult to find what you need wherever you travel.

What Extras To Bring

The Complete Packing List for Female Travelers

Don’t forget a few crucial extras to add to your packing list

The biggest considerations for extras are personal safety items and downtime activities. Consider taking a personal safety alarm, a lock you can use on lockers and a wire-mesh bag protector.

You may want to bring along a paperback book, your journal, a tablet, and headphones for downtime. Don’t forget your phone charger! If you’re traveling abroad, you’ll need to make sure you have an adaptor for your electronics.

Notice how your dog’s tail wags when you say the word walk? Our canine furry friends absolutely adore getting out in nature for a big walk, and hiking with your dog is a great way to keep both you and your furry friend in shape and healthy. Whether you are new to canine care or have been doing it a long time, hopefully, this article will help you out! Here are nine tips and tricks for backpacking with a dog when you and your furry friend go hiking in the great outdoors.

1. Pre-Hike Training (for both of you!)

Before you even attempt to go backpacking with your dog, it is important to make sure you are both ready. Before going out together, take your pup to dog parks to ensure they are socialized and well-behaved around other dogs, people, animals, and unknown circumstances. Give your dog little bits of experience around hiking by going on small walks and building up slowly before attempting anything too big.

How to go backpacking with your dog

Take necessary steps to bring your dog on your backpacking adventures

2. Do the Research to Find a Dog-Friendly Trail

As Reece Lance, a travel blogger at Academized and Write my essay, commented, “The first thing you need to ensure before heading out is that you are planning on going to a dog-friendly trailhead. It is extremely easy to make the mistake of heading all the way there and then finding that they do not allow dogs.” Before you go to the trailhead, it is important to do some research. Ensure that the trail is not going to be too hard on your dog’s paws or too much for both of your fitness levels.

3. Pack Enough Food, Water, and Treats for your Pup

9 Tips & Tricks for Hiking and Backpacking with your Dog

Just as it is important to bring yourself enough energy bars, water bottles, and packed sandwiches when you are walking; it is crucial to do the same when you go backpacking with your dog! The best way to think is to bring a little bit more than you need for the both of you. Bring their usual food, extra water, and treats to keep your pup motivated. You do not want to be caught without if the hike goes a little longer than expected. This dog water bottle is easy for them to drink out of, and its handy dual-valve system lets you re-store any water your dog doesn’t drink so that their fresh water doesn’t go to waste.

4. Leave No Trace! Bring Poop Bags

On trails, it is requested that people leave no trace behind and clean up after themselves. This applies to dogs as much as it does to humans. You are responsible for the trace that your dog leaves behind, and this is especially important to consider when your dog poops! Pick up after your pup or bury the waste deep in the ground. Be kind to the environment and bring some extra-thick biodegradable poop bags to dispose of your dog’s waste once you’re off the trail.

5. Bring a First Aid Kit

You should always bring a first aid kit on long hikes for yourself, but also ensure you have canine-specific first-aid items when you go backpacking with your dog. In all hope, you will never need it; but it is always better to be prepared than caught unawares. The most important safety items for a pet first aid kit are tick-tweezers and an LED-lighted color.  This dog-specific first aid kit also includes wraps, a water bowl, special tick tweezers, and a LED light-up color, so that you can easily spot your dog once the sun goes down.

6. Pack Dog Clothing & Wrap-Ups

Ensure your pup will be prepared for extreme weather on the trail

Ensure your pup will be prepared for extreme weather on the trail

Following on from my previous point, it is always better to be prepared than caught unawares. Check the weather before you go backpacking with your dog, but also be prepared for circumstances where the weather may change without warning. Pack extra dog clothing and wrap-ups for both of you. A lightweight rain jacket will fold up nicely in your pack and will come in handy in case you encounter stormy weather on the trail.

7. Bring a Dog Toy on the Hike

Bringing a favorite toy of your pups on the hike will make them feel instantly comfortable and at ease in a new environment. This can also be used as a way of getting their attention if they start wandering off too far to explore. This football-shaped squeak toy is easy to throw, plus the irregular shape means it will bounce in different ways, keeping your dog’s attention.

8. Take Regular Breaks & Keep an Eye on your Dog

Bring your dog (big or small!) on your hiking adventures

Bring your dog (big or small!) on your hiking adventures

Anna George, a lifestyle writer at Boomessays and Resumention, noted, “On a long hike, make sure to keep an eye on your dog for signs of discomfort, pain, or fatigue.” If you start to see signs that you are worried about, this is where your first aid kit comes in handy! However, keeping your dog hydrated and fed will avoid this happening in most cases.

9. Do a Final Check on your Pup

Congrats! You and your dog have finished your hiking adventure or backpacking trip. It is important to do a final check on your pup for any bug bites, ticks, or little injuries before hopping back in the car and heading home.

Checklist for Backpacking with Your Dog

Backpacking with your dog

Hiking with Dogs